This guide walks you through creating a bootable USB drive using Rufus and installing Windows 11 IoT Enterprise LTSC 2024 step-by-step. Each step includes a visual slide and clear instructions.
💡 Tip: While this guide uses Windows 11 IoT Enterprise LTSC 2024 as an example, the same Rufus steps work for:
Just make sure to select the correct ISO in Step 2.
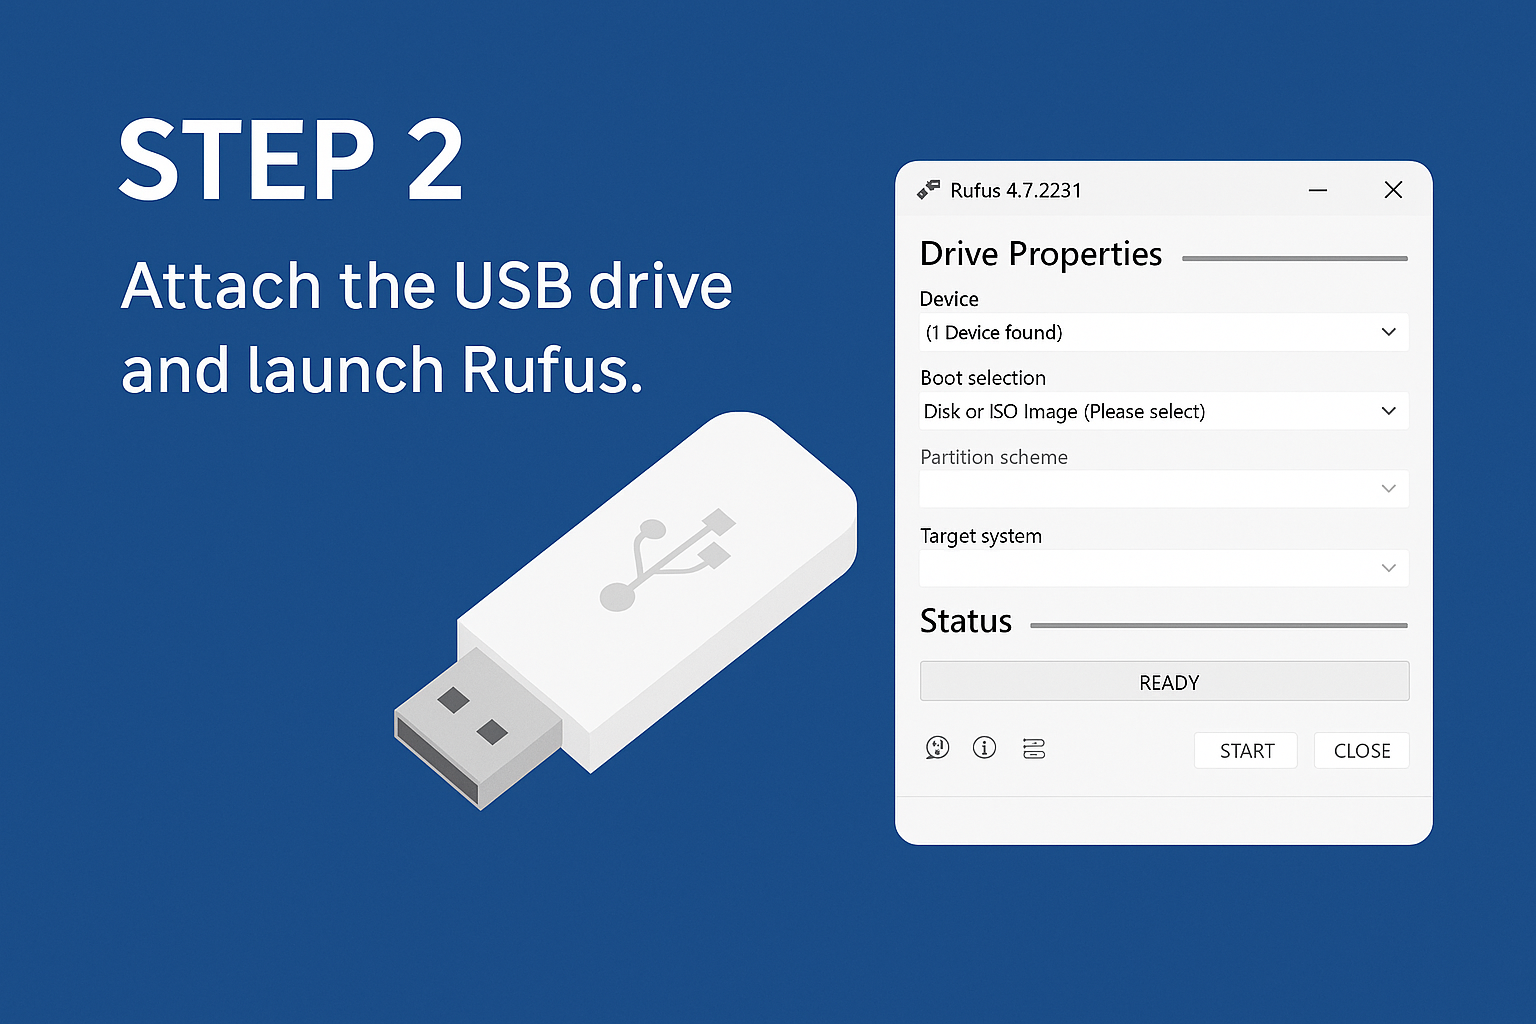
Open Rufus and plug in your USB drive. It will be automatically detected.

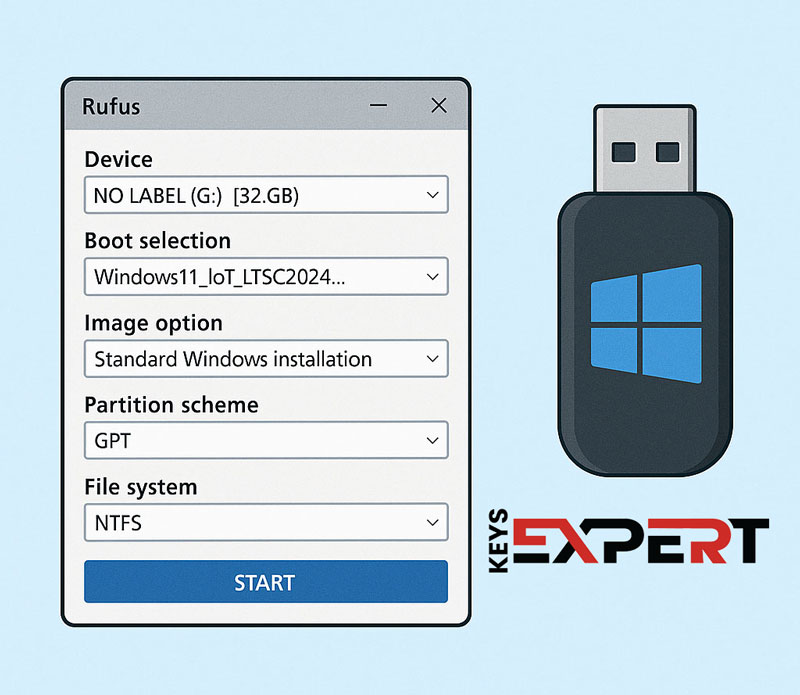
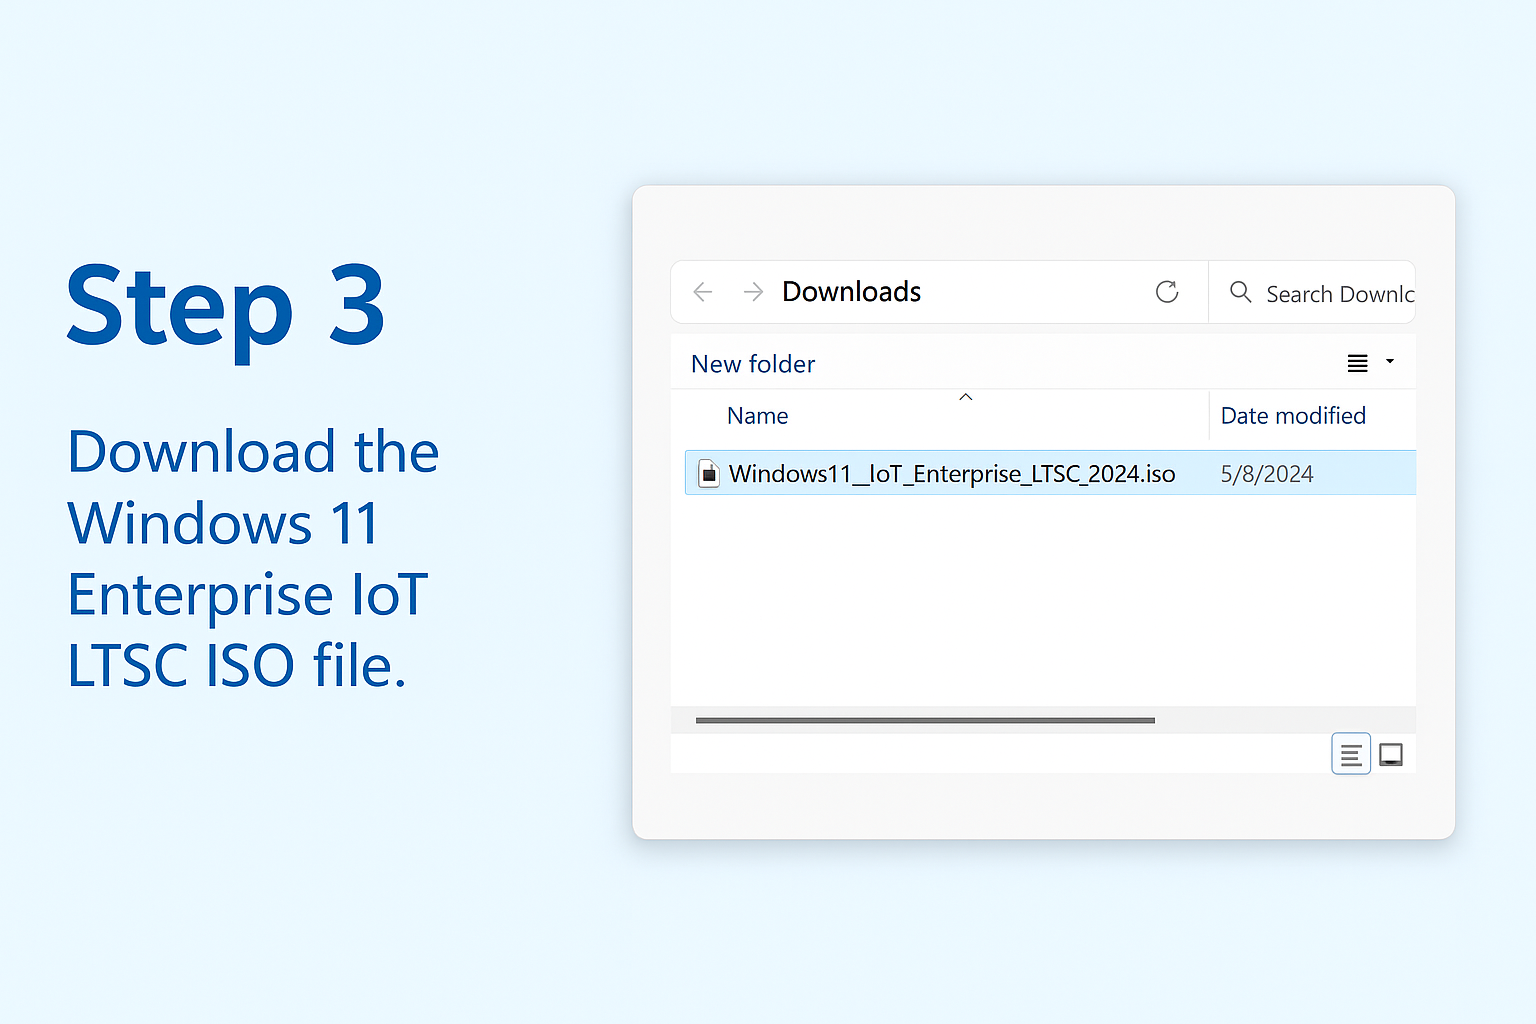
Click SELECT and choose the Windows 11 IoT Enterprise LTSC 2024 ISO file.
After selecting the ISO, Rufus will display the image info.
Select ‘MBR’ for BIOS or UEFI-CSM. Use ‘GPT’ for UEFI only.
Ensure compatibility for older systems by using the BIOS mode.
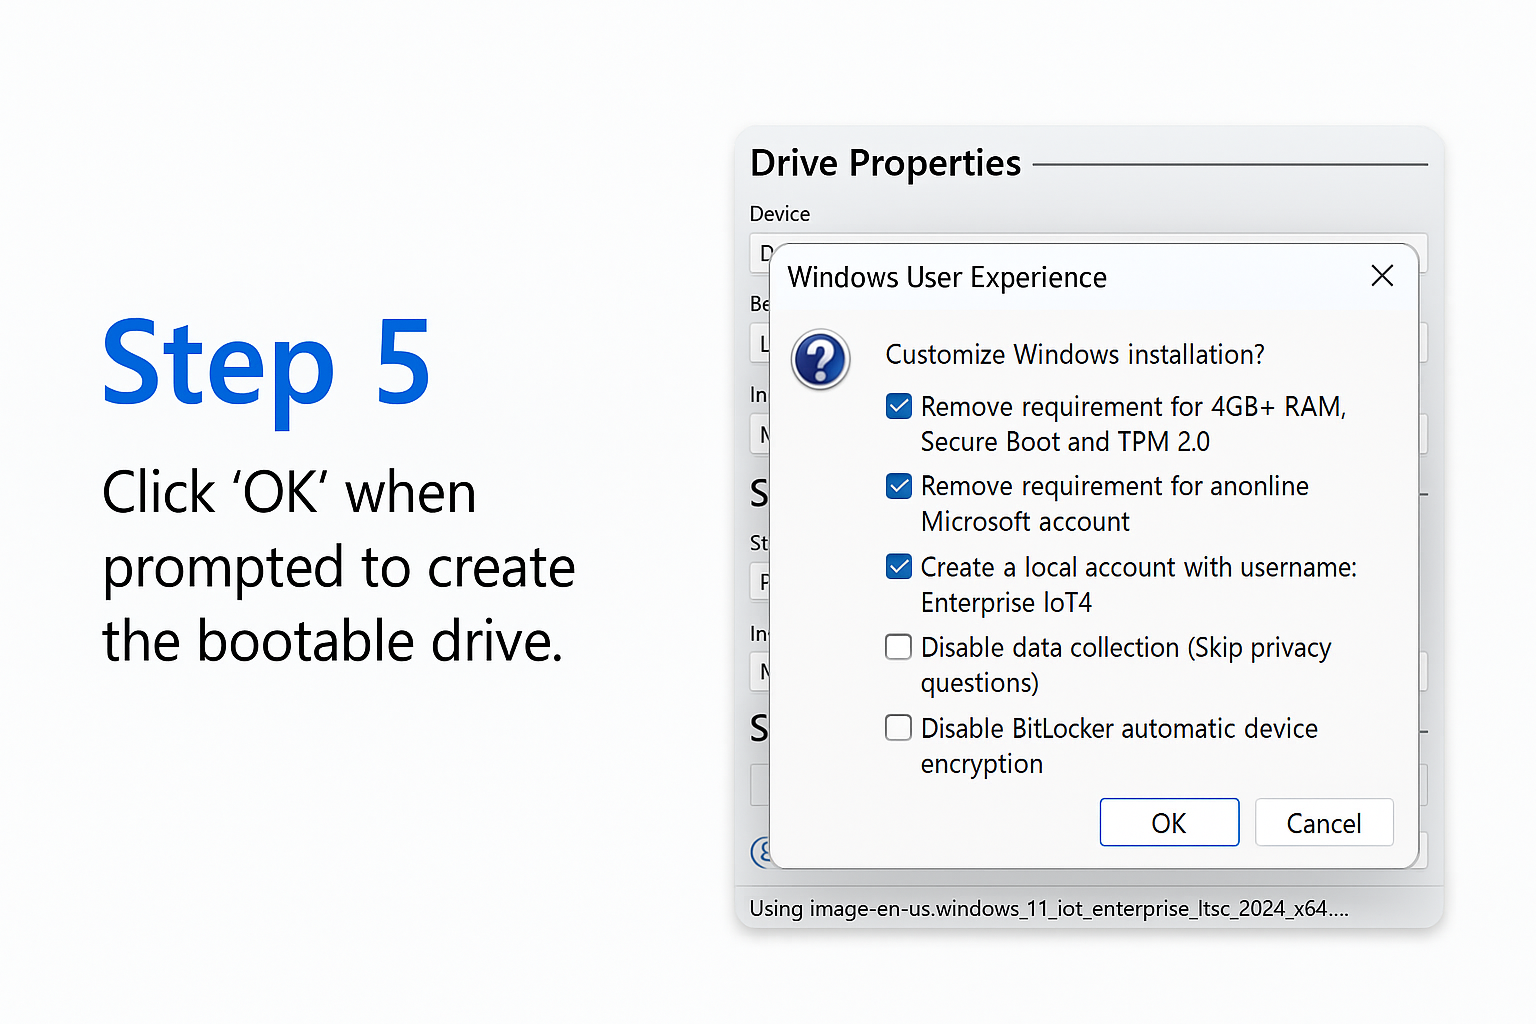
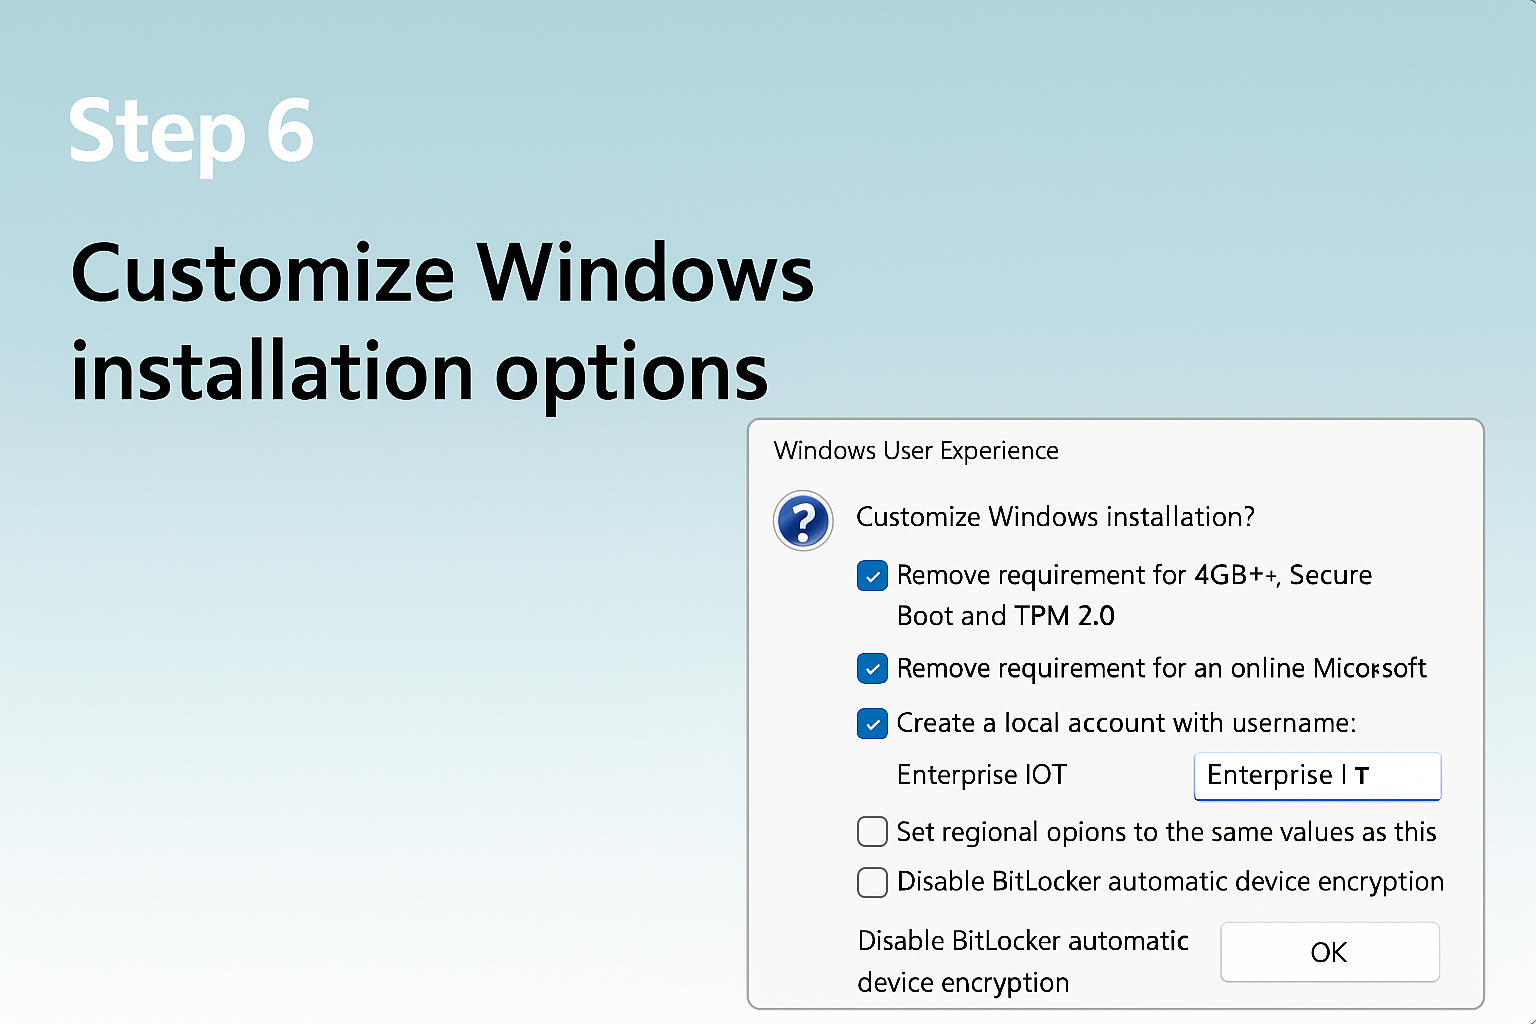
Use Rufus’s advanced options to bypass TPM/RAM checks or predefine a user.
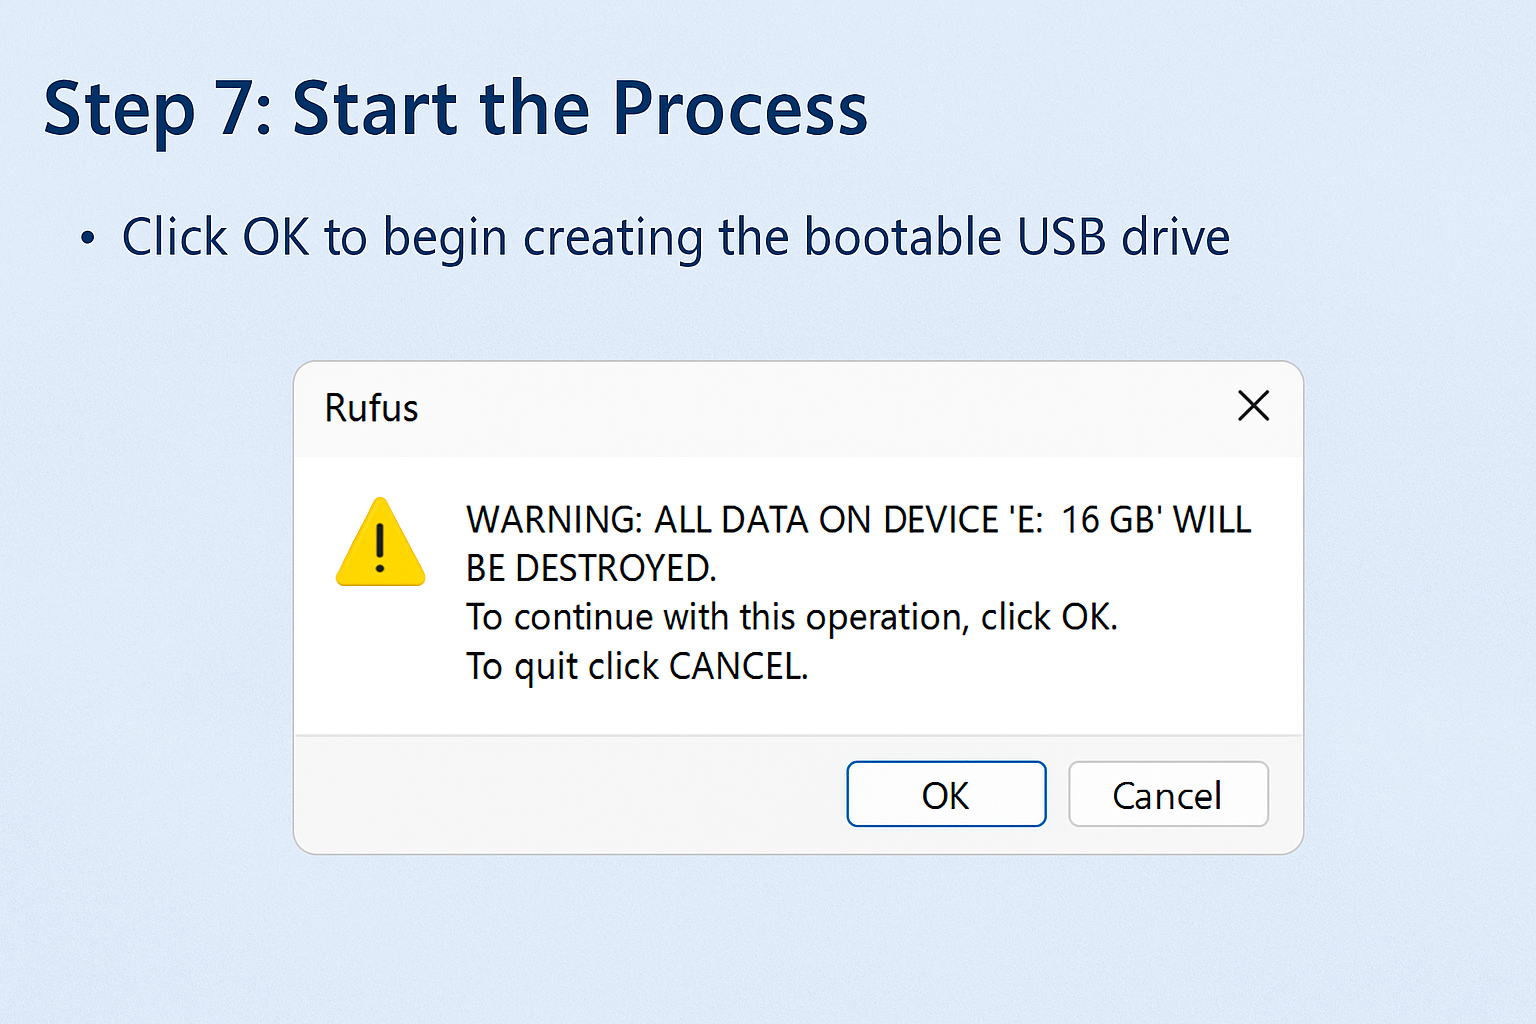
Click OK to confirm. Warning: This will erase all data on the USB drive.
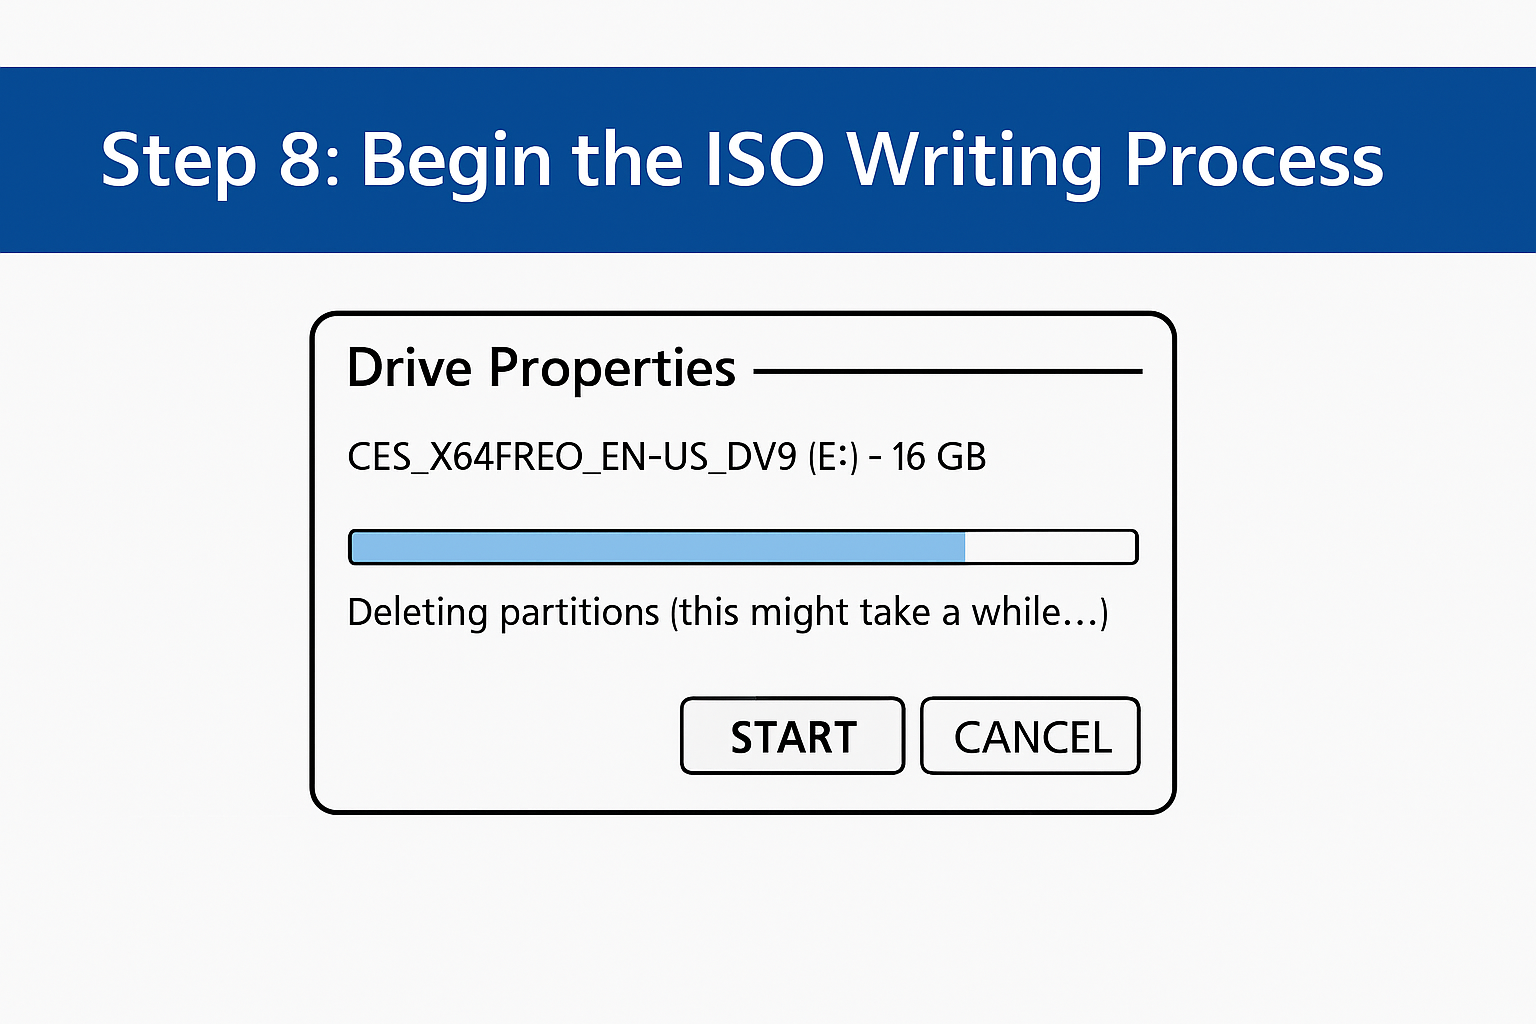
Rufus starts deleting partitions and prepares the USB.
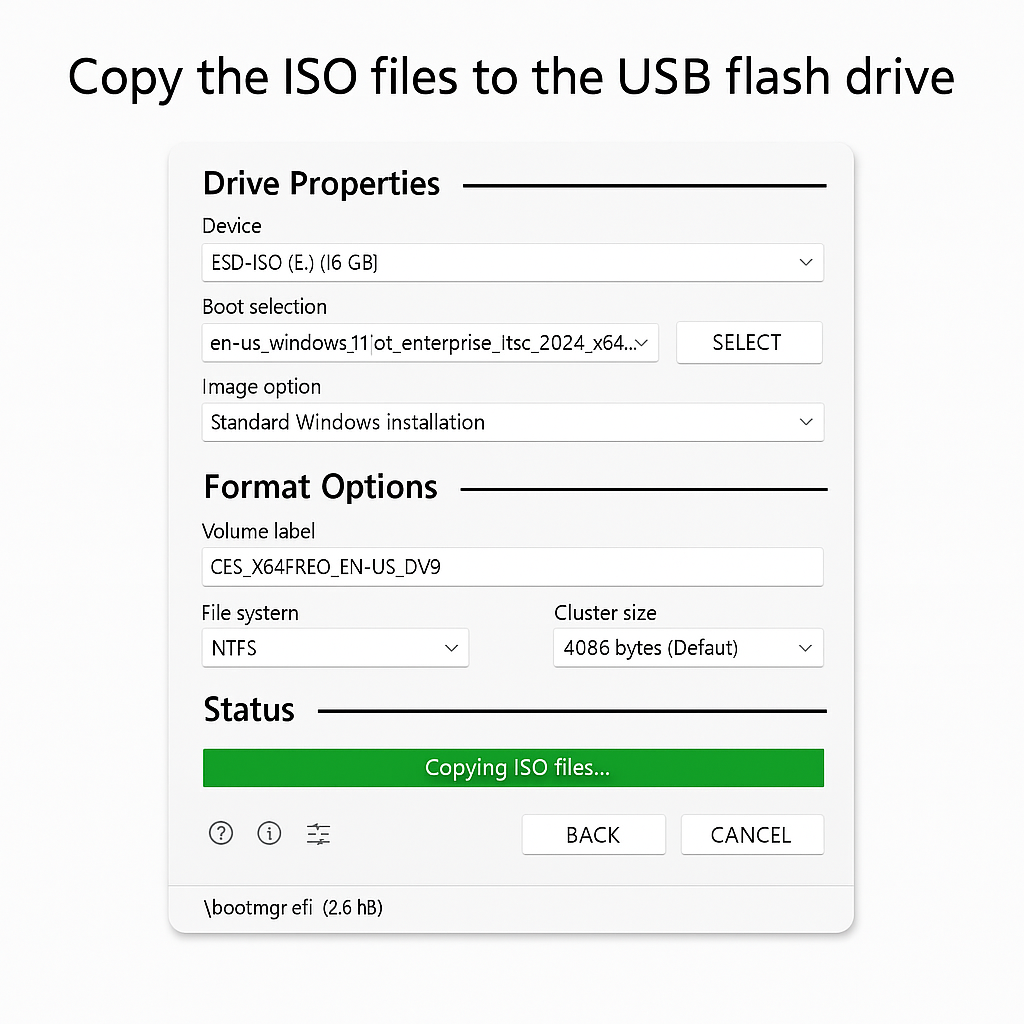
The ISO contents are copied to the USB drive.
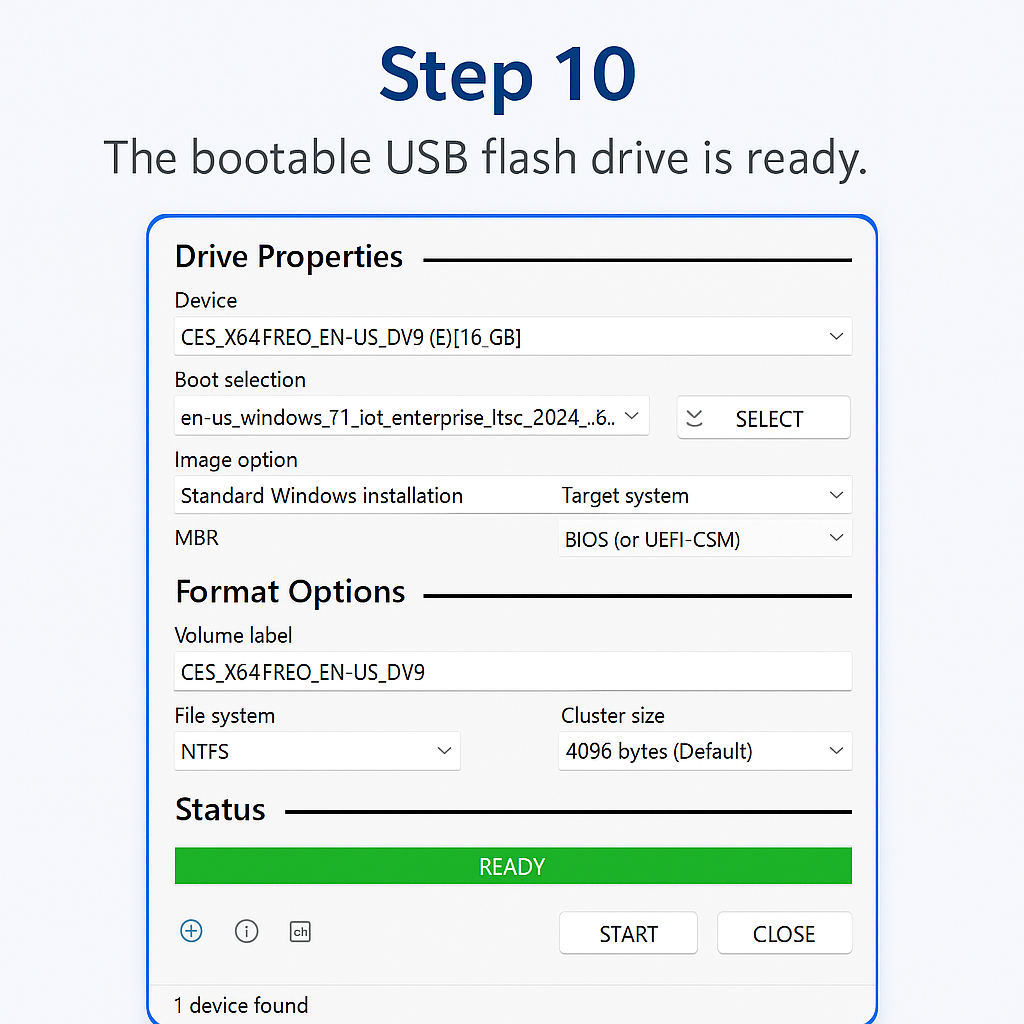
You will see a green READY bar. The bootable USB is ready for use.