Need help creating a bootable USB? Follow our full Rufus Guide for Windows 11 IoT Enterprise LTSC to get started.
After booting from the USB or other bootable media, simply follow the on-screen Windows Setup instructions outlined in this guide to complete the installation step by step.
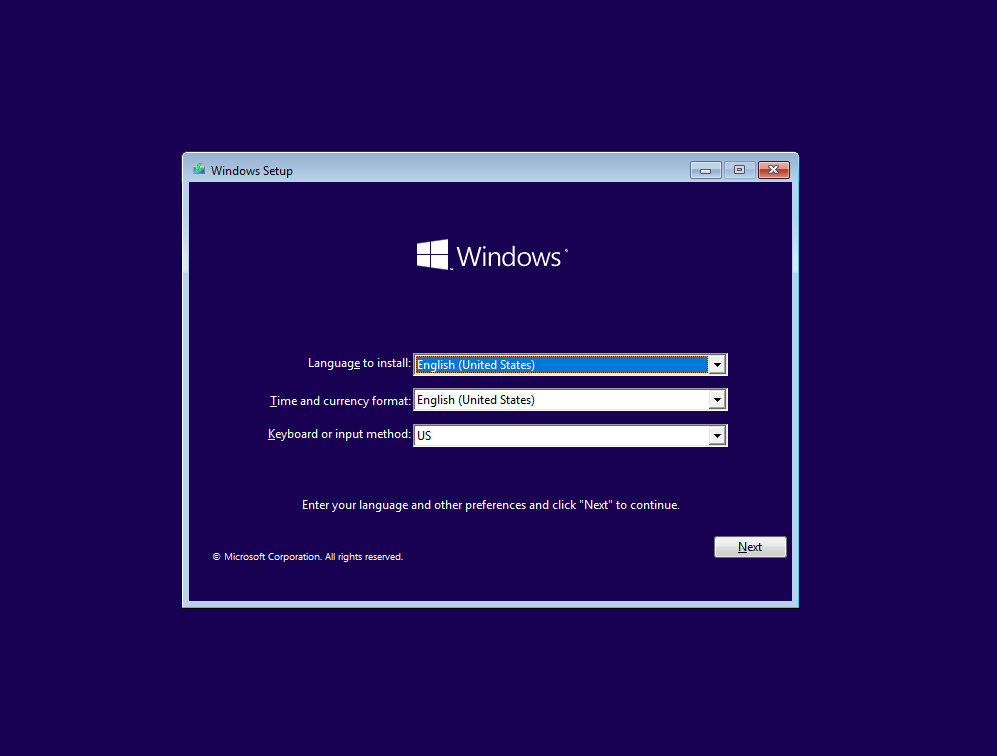
Choose your language, time format, and keyboard layout before starting installation.
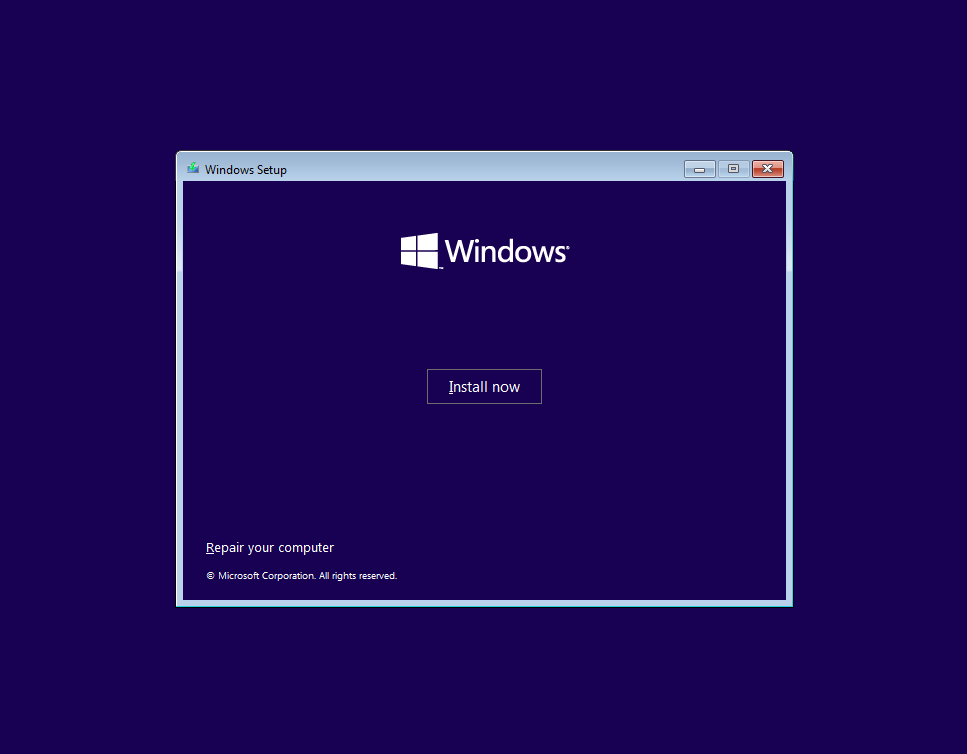
Click “Install now” to begin the Windows 10 IoT Enterprise setup.
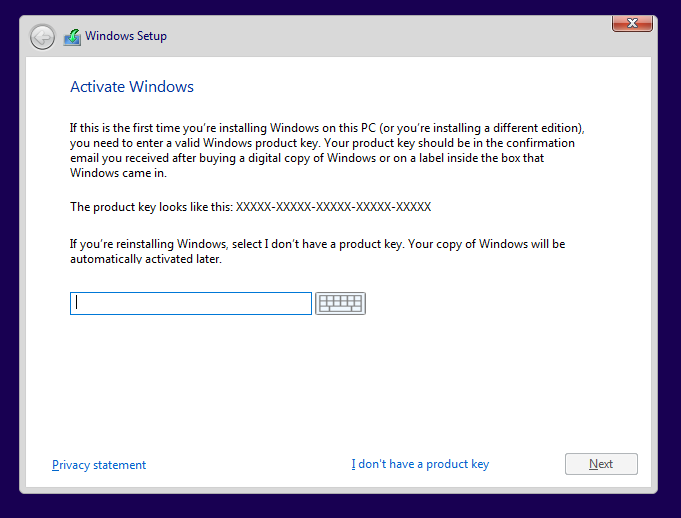
Input your product key or skip if you plan to activate later.
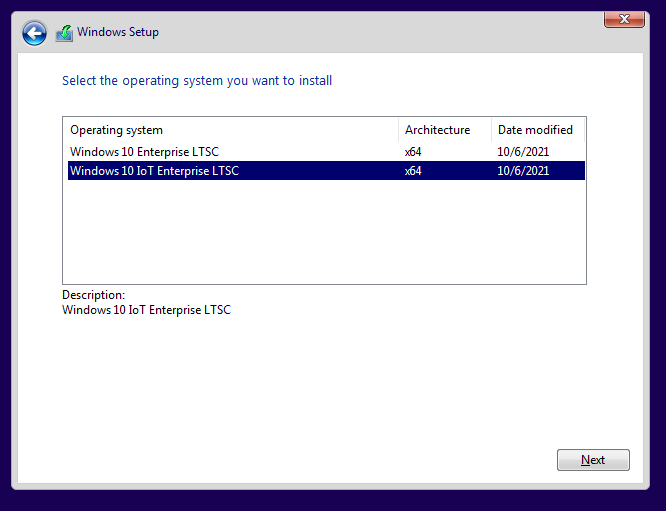
Select “Windows 10 IoT Enterprise LTSC” from the list of available editions if you have an IoT license key.
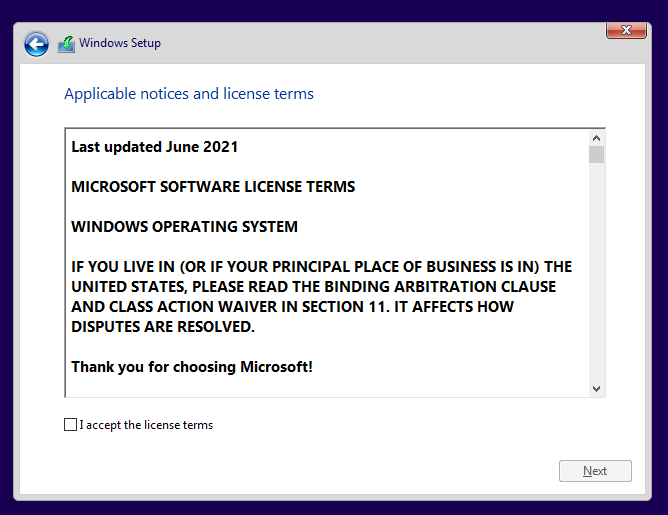
Review and accept Microsoft’s software license agreement.
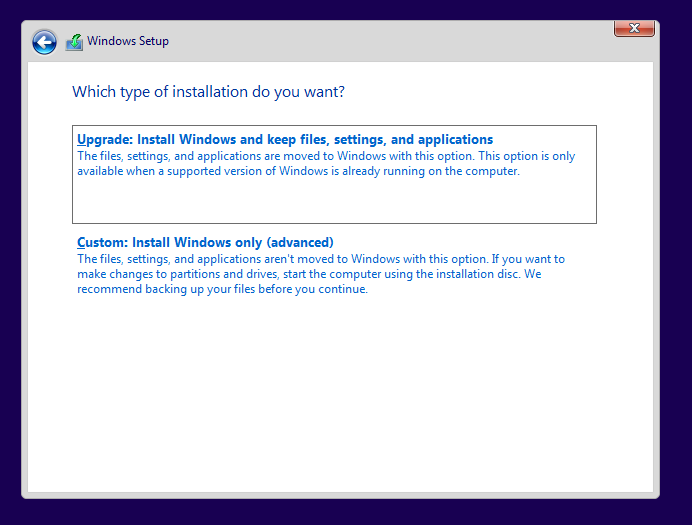
Pick “Custom: Install Windows only” for a fresh installation.
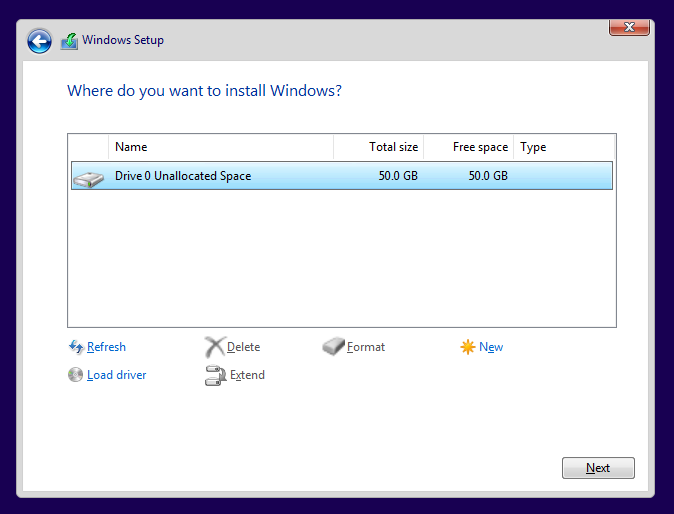
Select or format the drive where Windows will be installed.
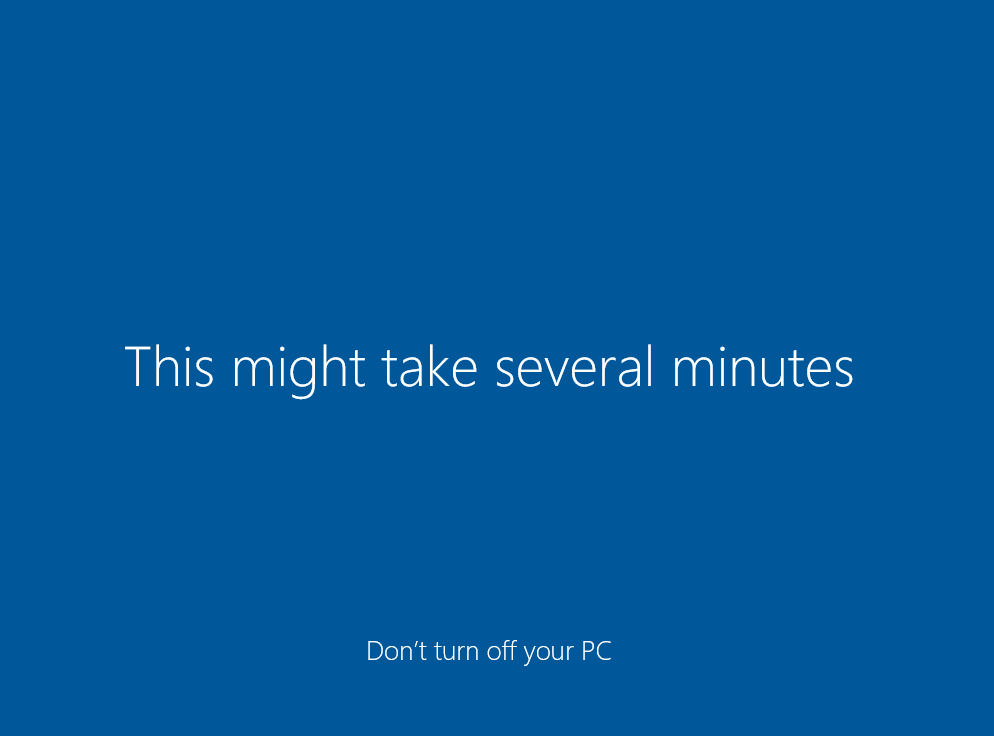
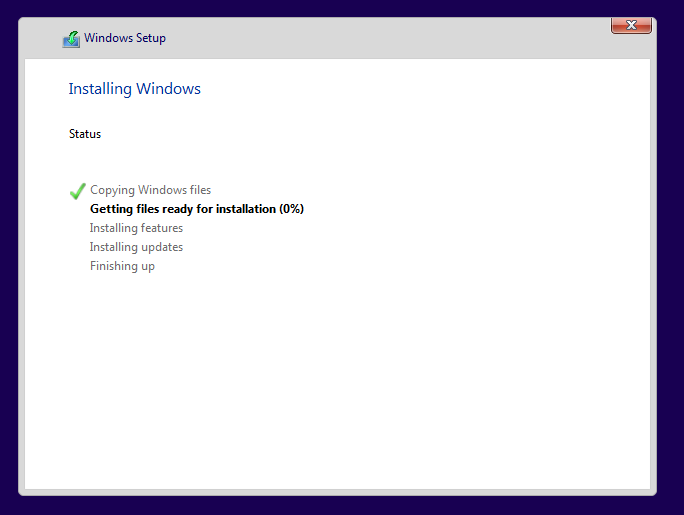
Windows copies files and installs system components automatically.
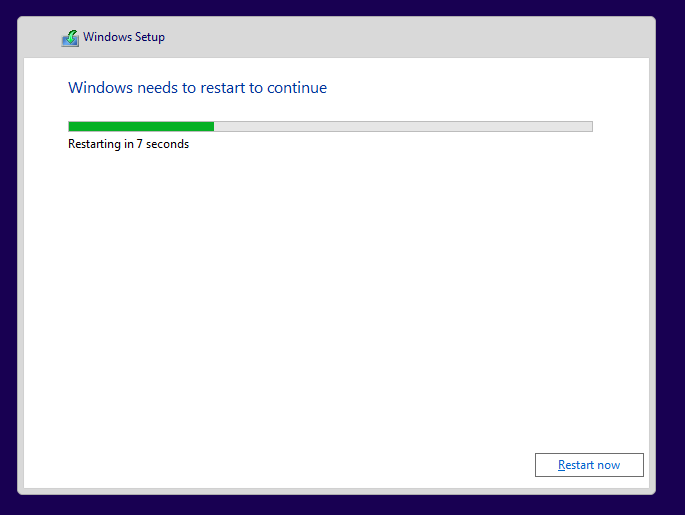
System reboots to finalize the installation process.
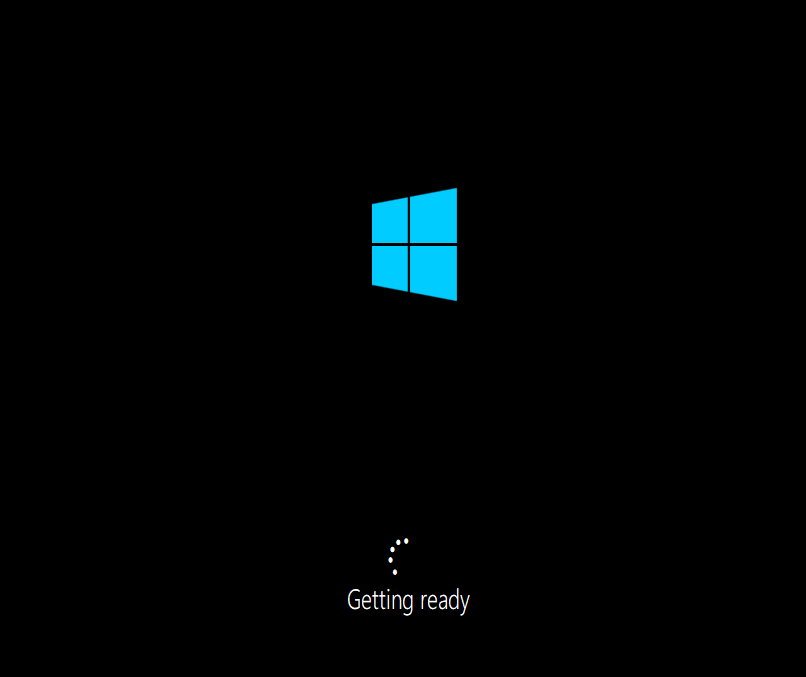
Windows prepares device settings before initial configuration.
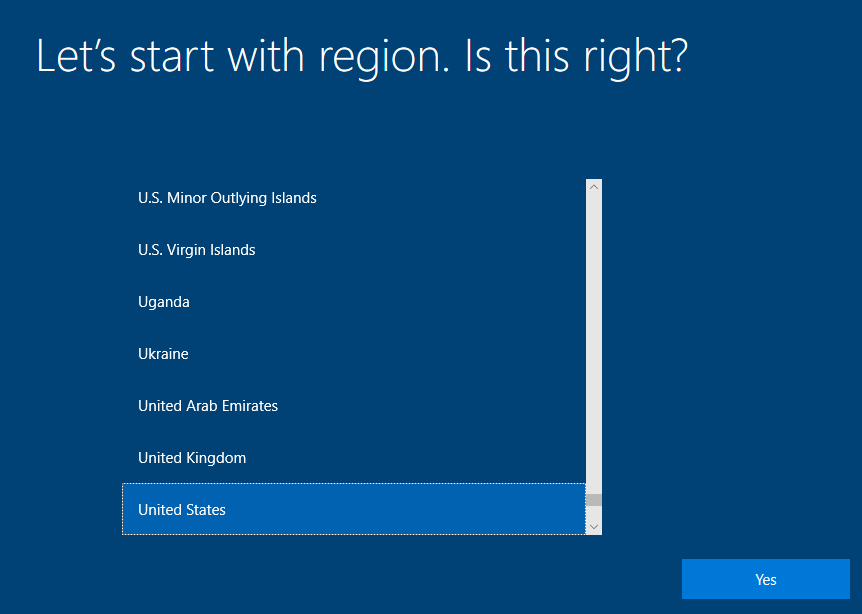
Choose your geographical region to configure localization.
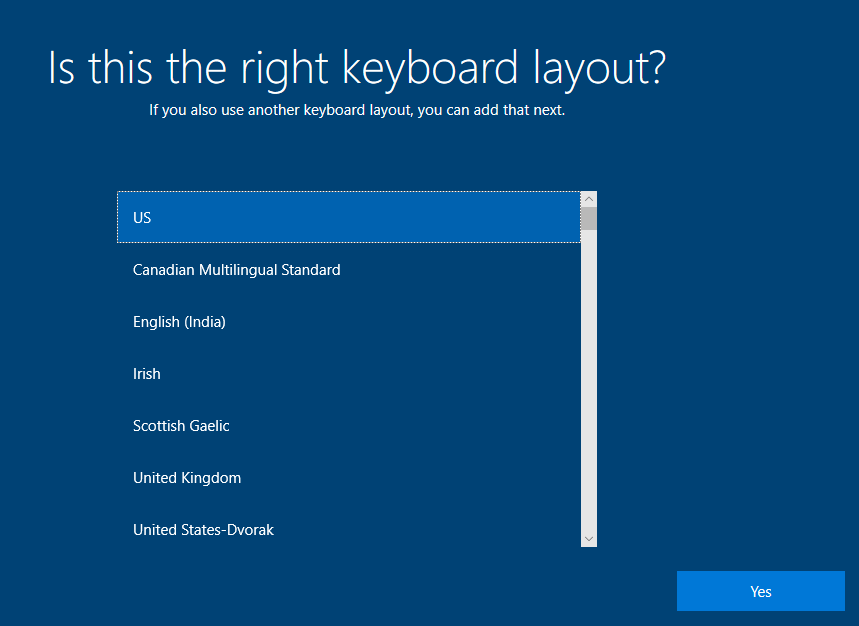
Confirm your primary keyboard input method (e.g., US layout).
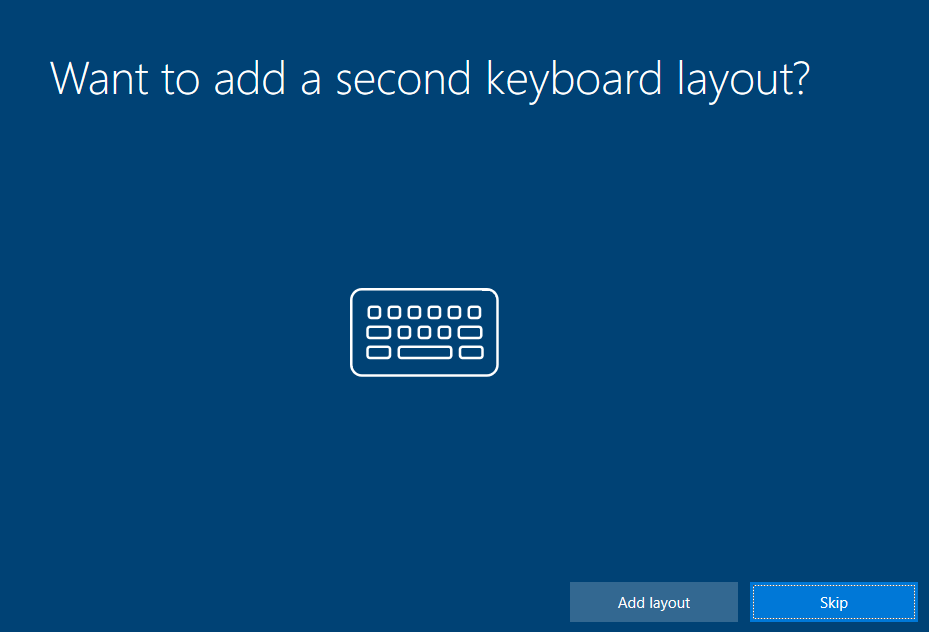
Add or skip additional keyboard layouts.
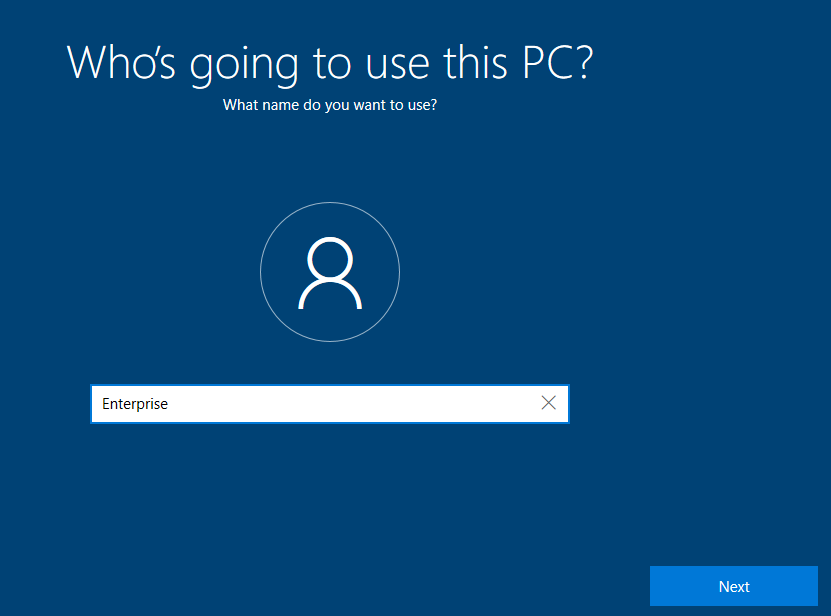
Set a username for the device’s main local user.
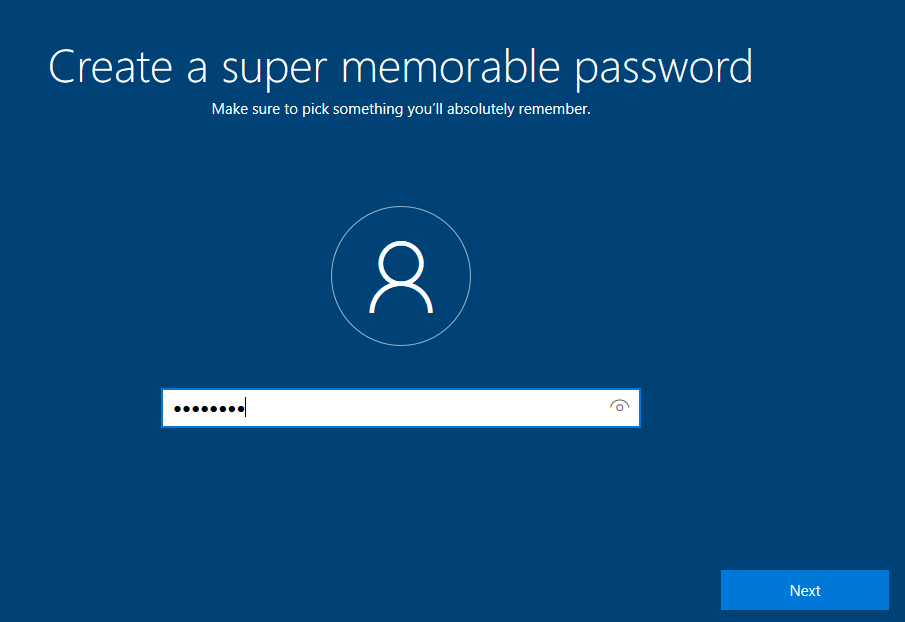
Protect your account with a secure password.
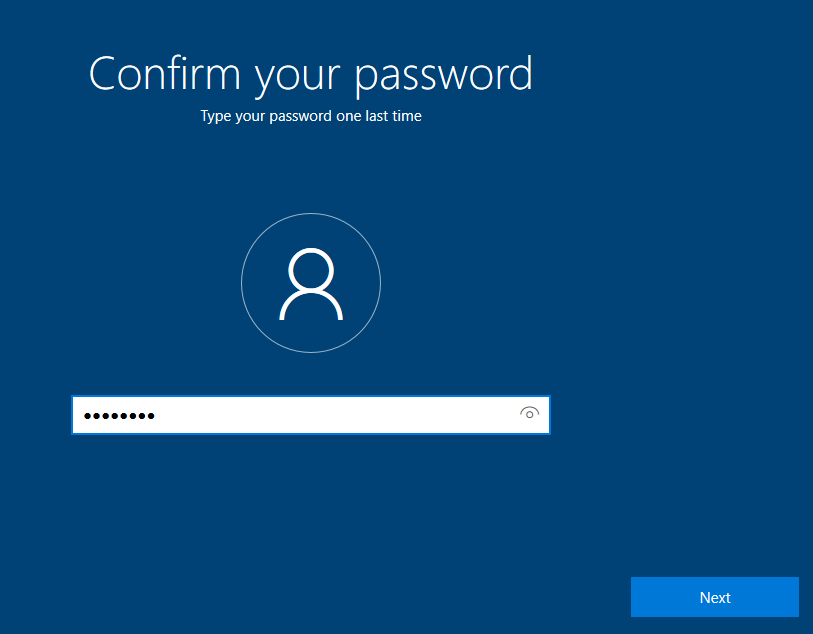
Re-enter the password to verify correctness.
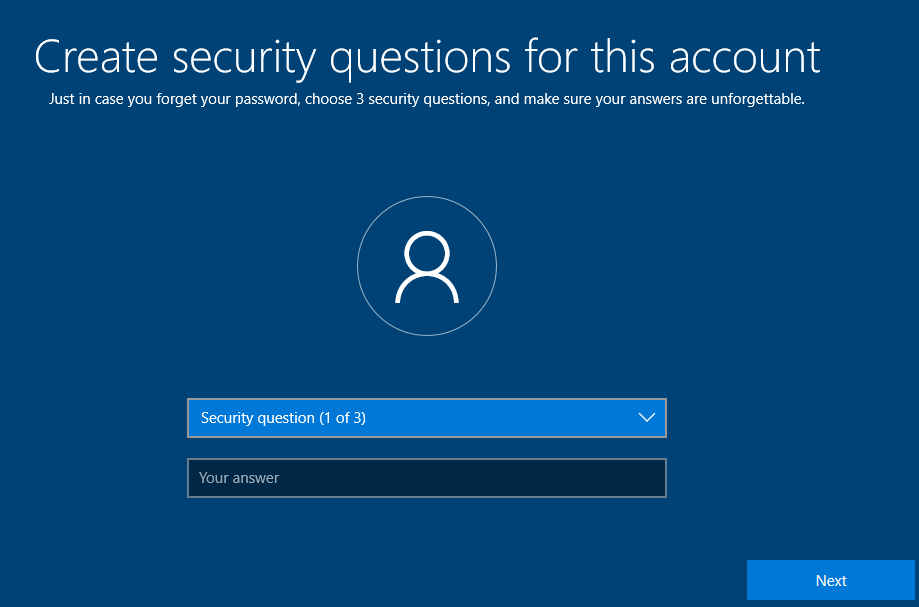
Choose and answer security questions for password recovery.
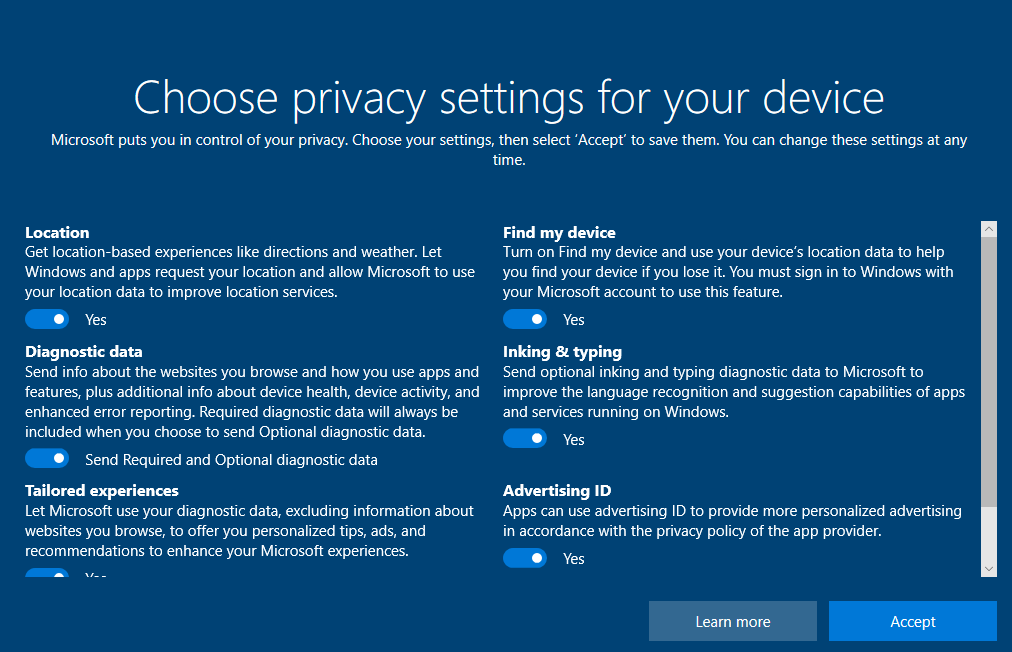
Enable or disable privacy options like location and diagnostics.
Windows welcomes you with a brief startup message.

Settings are finalized before the desktop is loaded.