Need help creating a bootable USB? Follow our full Rufus Guide for Windows 11 IoT Enterprise LTSC to get started.
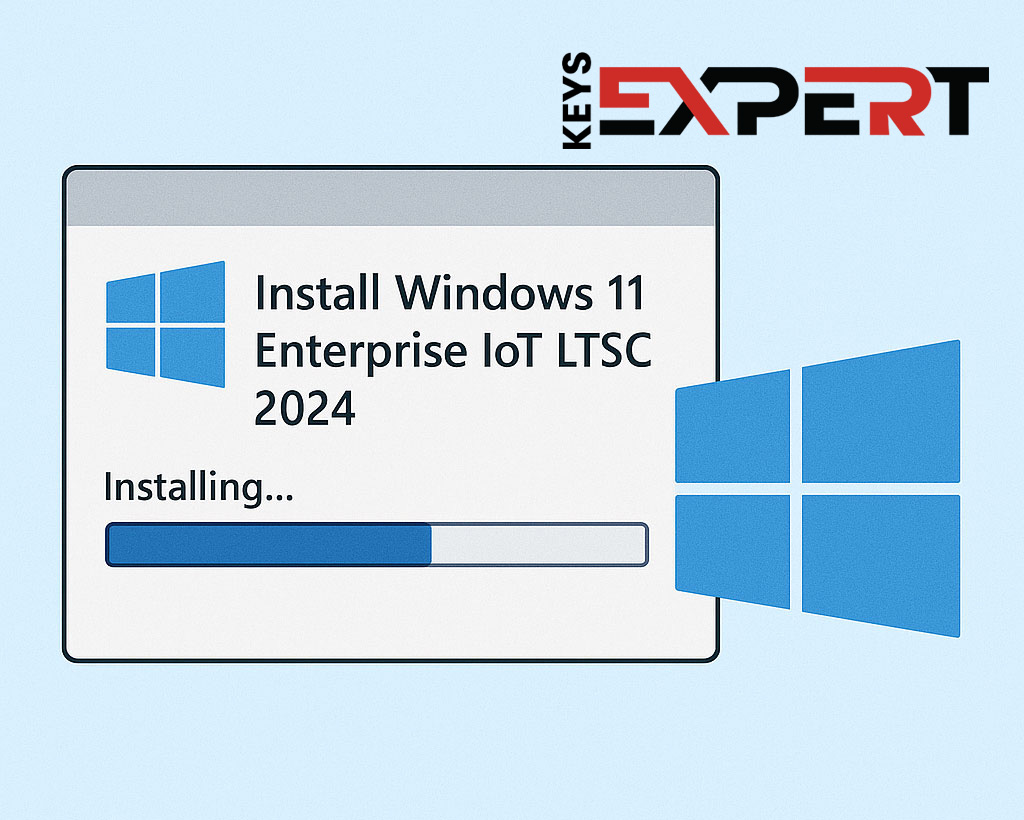
Installing Windows 11 Enterprise IoT LTSC 2024 is a simple process if you follow the right steps. This guide explains exactly how to install Windows 11 Enterprise IoT LTSC 2024 on your PC, create a bootable USB, and activate it properly for long-term, secure use.
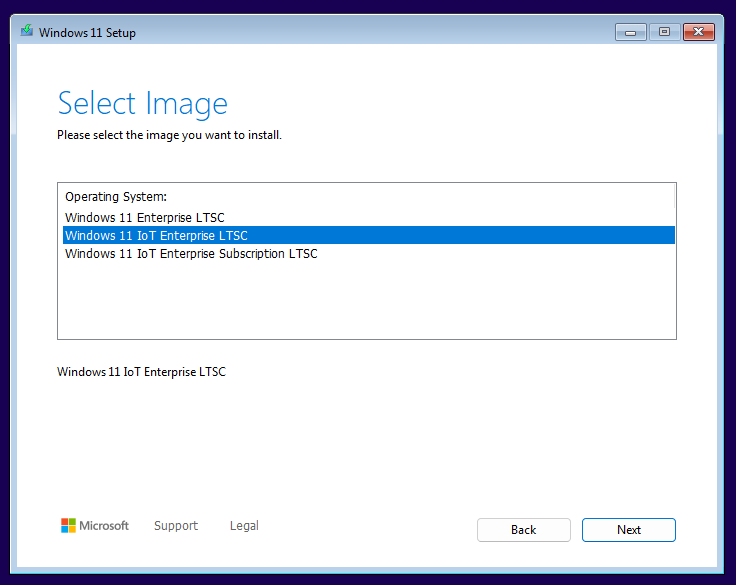
If you’re installing the IoT edition, choose ‘Windows 11 IoT Enterprise LTSC’ and click Next.
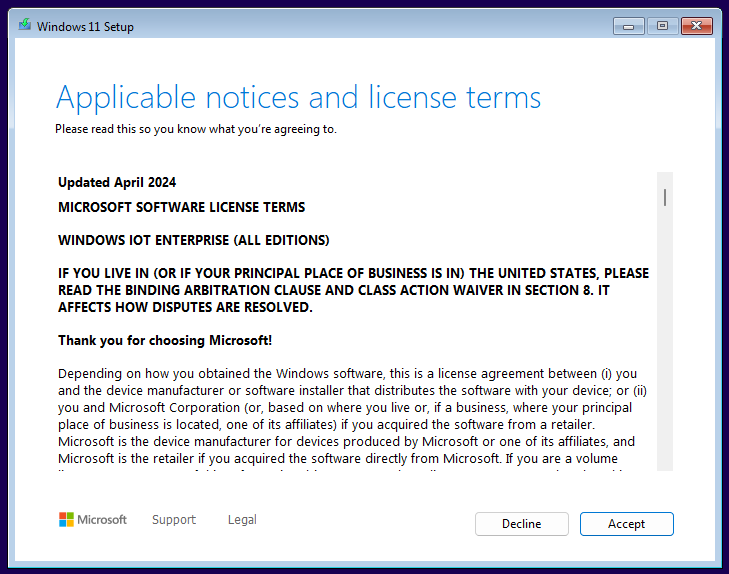
Read and accept the Microsoft Software License Terms.
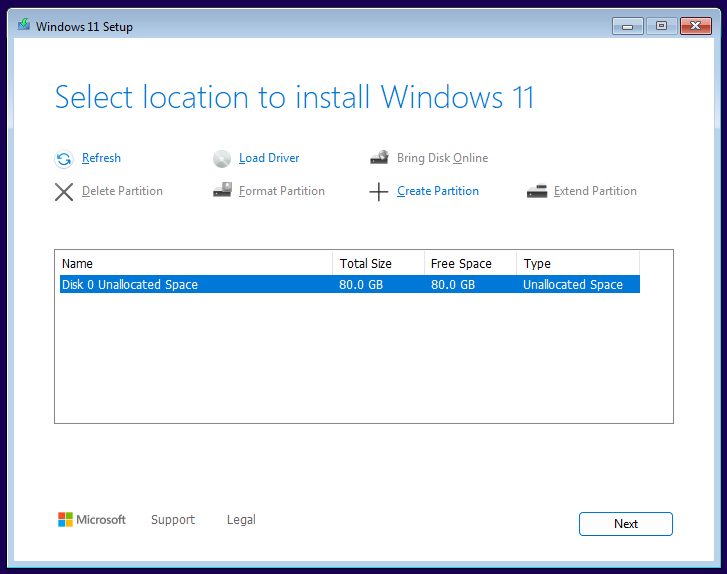
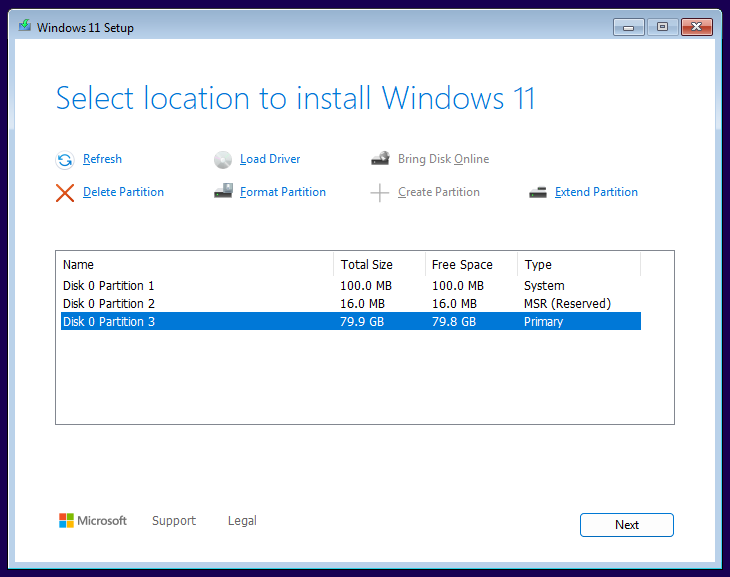
Choose the target disk with unallocated space and click Next.
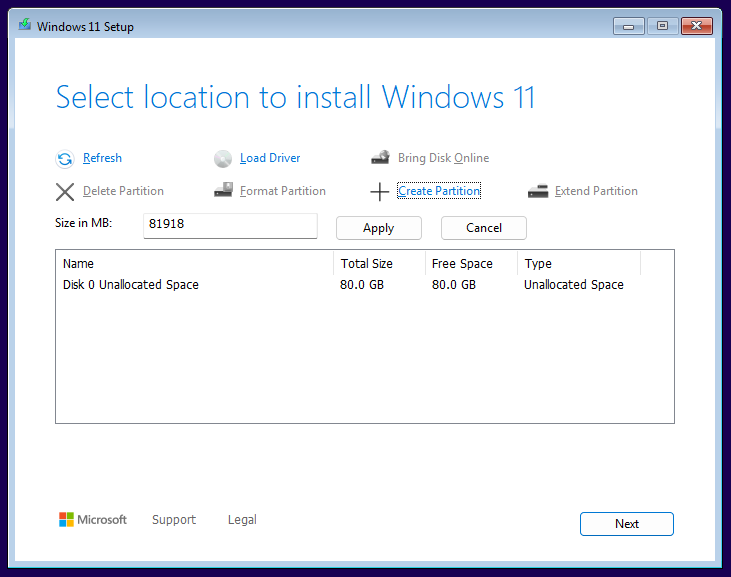
Click ‘Create Partition’, enter size, and apply.
Select the primary partition and click Next.
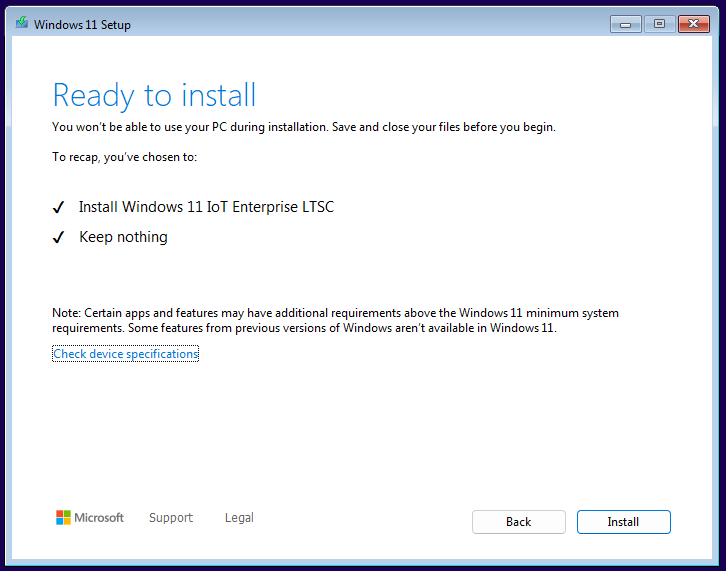
Review installation settings and click Install.
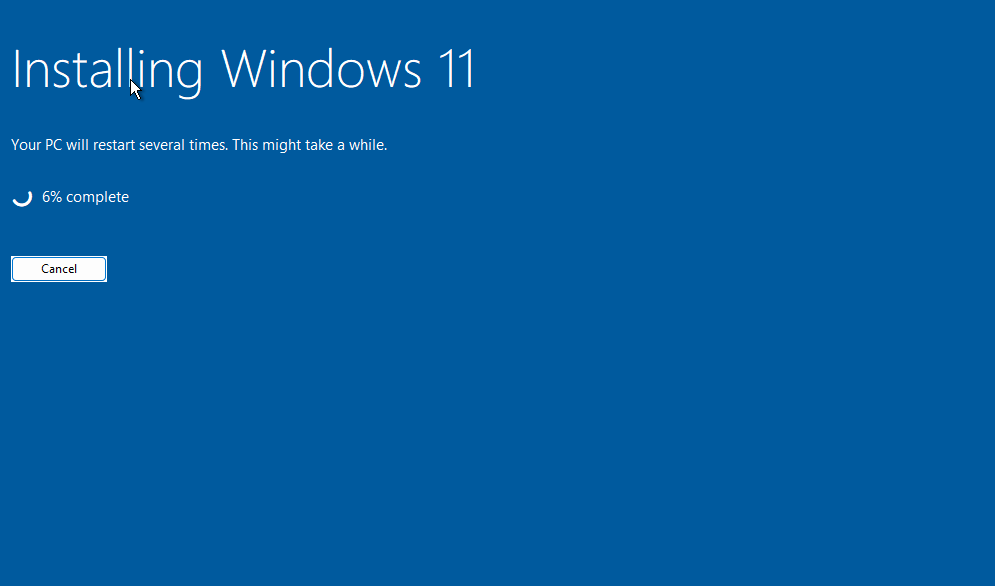
Windows will start installing and reboot several times.
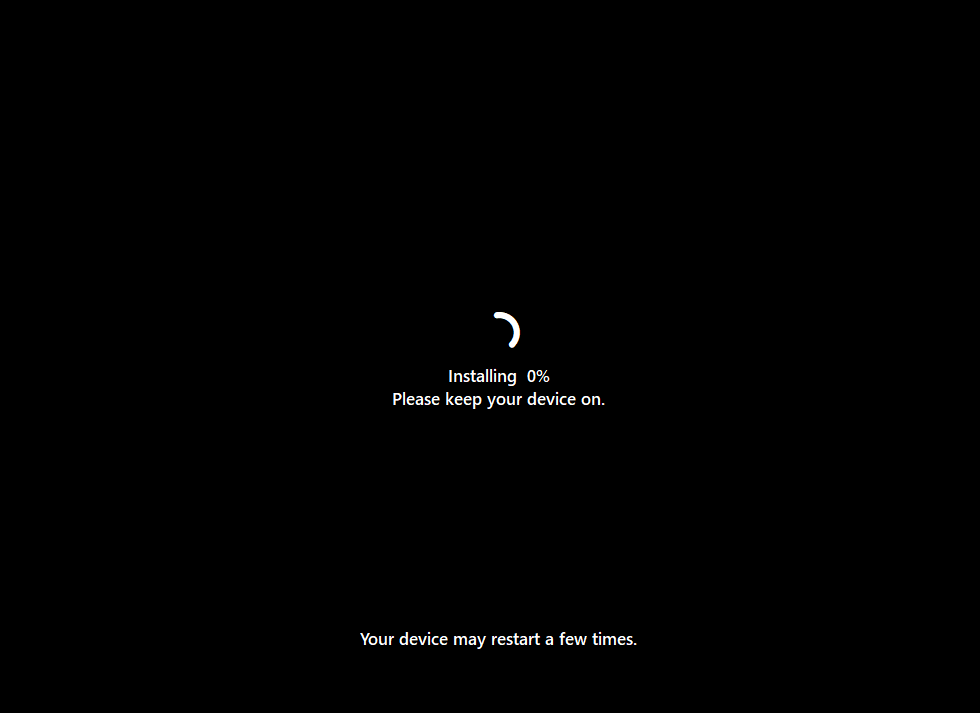
Let setup complete in the background.
Choose your country or region and click Yes.

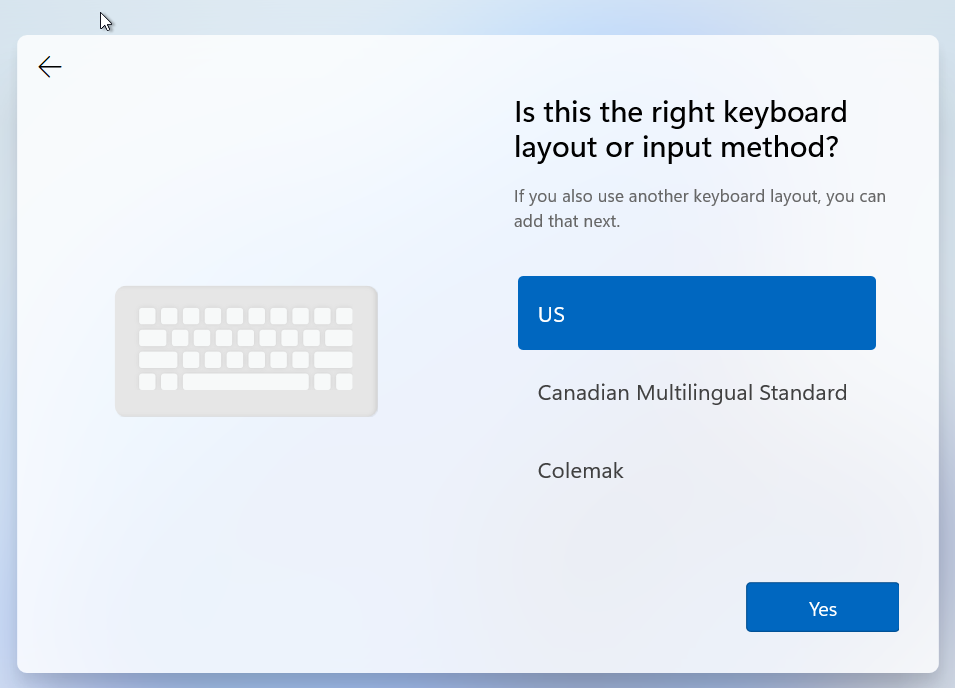
Select your keyboard layout and click Yes.
Follow the on-screen steps to create your username and password.
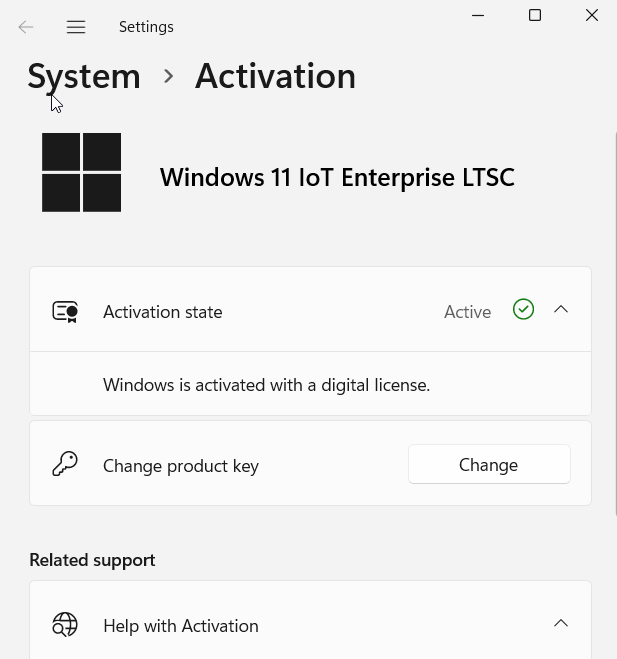
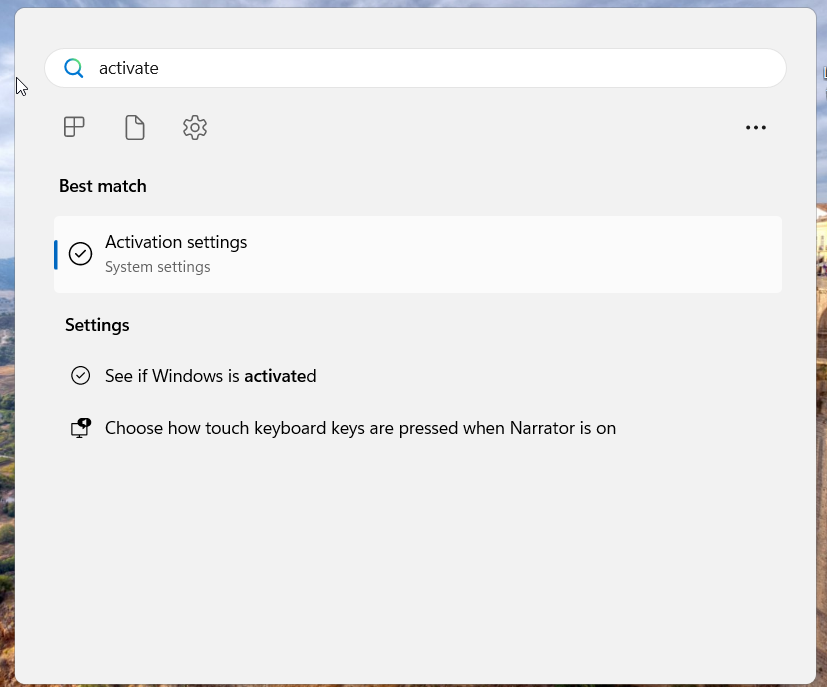
Search for ‘activate’ and open Activation Settings.
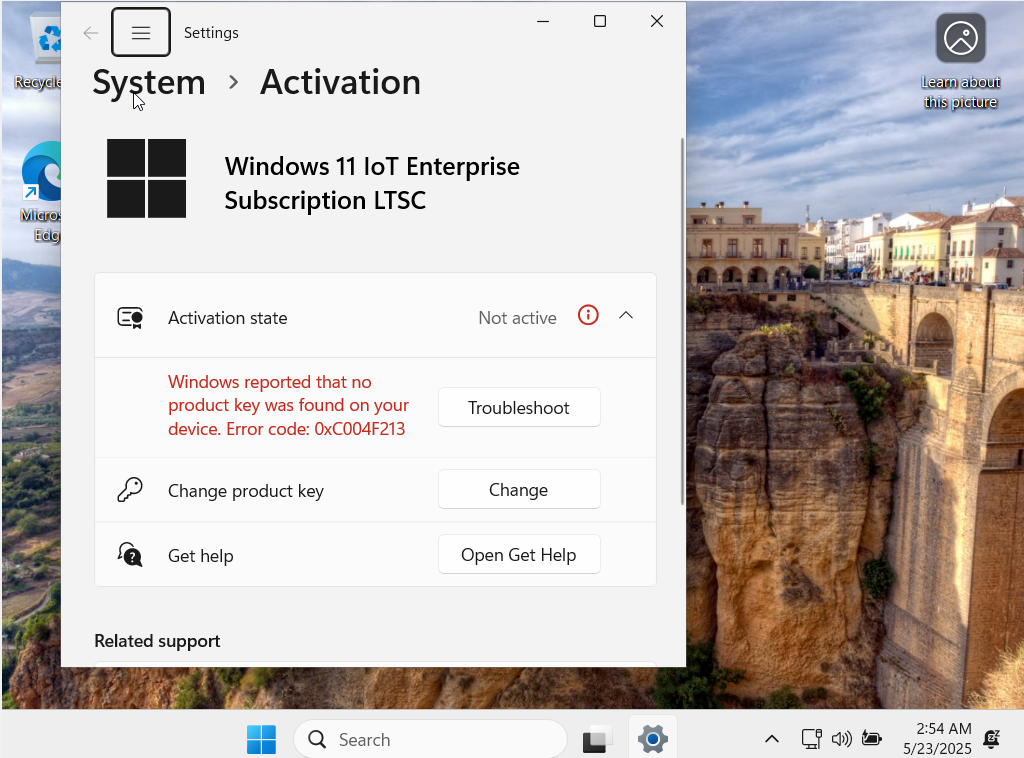
Click ‘Change’ to enter your product key.
Type the 25-character product key and click Next.
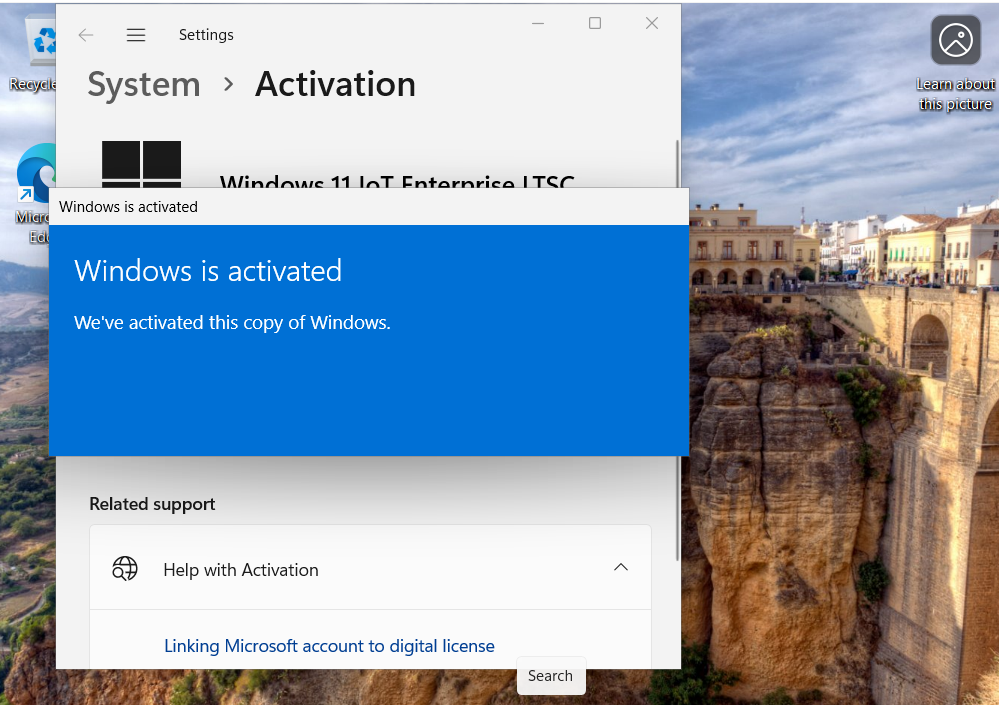
You will see a confirmation message that Windows is activated.
Check that Activation State shows ‘Active’ with a digital license.