Upgrade Windows 10 Pro to Windows 11 Pro Unsupported PCs or Laptops
How to Upgrade Windows 10 Pro to Windows 11 Pro on Unsupported PCs or Laptops (Step-by-Step Guide)
Introduction: Why Some PCs Don’t Support Windows 11
Microsoft made Windows 11 stricter than Windows 10, requiring TPM 2.0, Secure Boot, and newer CPUs. Many older but capable laptops and desktops don’t pass these checks.
Users often search terms like aka.ms upgrade to Windows 11, system upgrade to Windows 11, or how to update to Win 11. The reality is: Microsoft’s installer will block unsupported devices — but you can still upgrade.
This guide explains how to upgrade Windows 10 Pro to Windows 11 Pro manually, bypass hardware checks, and even do it for free if your Windows 10 Pro is already activated.
System Tested: Real Example
We tested on:
CPU: Intel Core i7-4710HQ (4th Gen, unsupported)
RAM: 16 GB DDR3
Storage: 512 GB SSD
GPU: NVIDIA GTX 960M
Firmware: Legacy BIOS (no Secure Boot, no TPM 2.0)
Despite failing Microsoft’s requirements, this laptop successfully upgraded to Windows 11 Pro using the steps below.
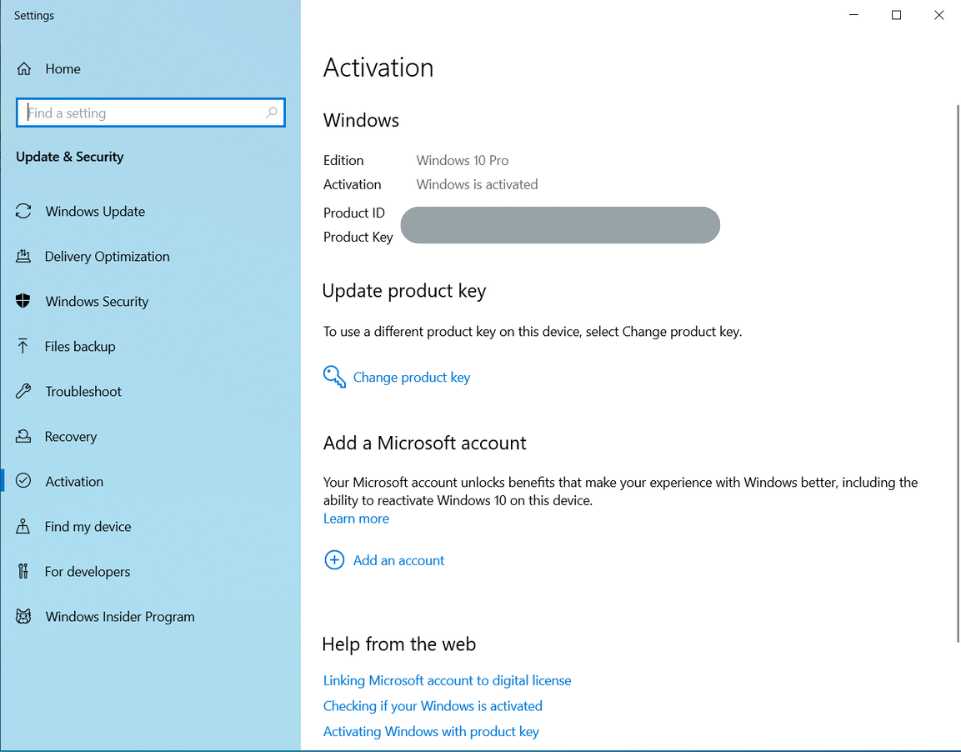
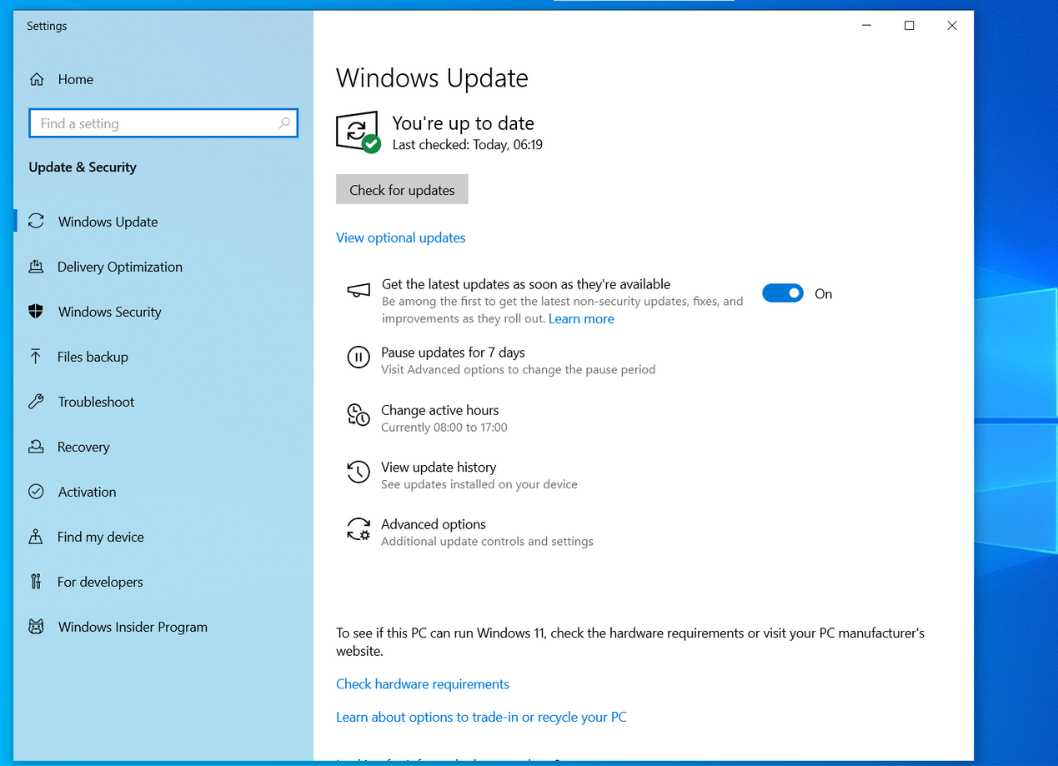
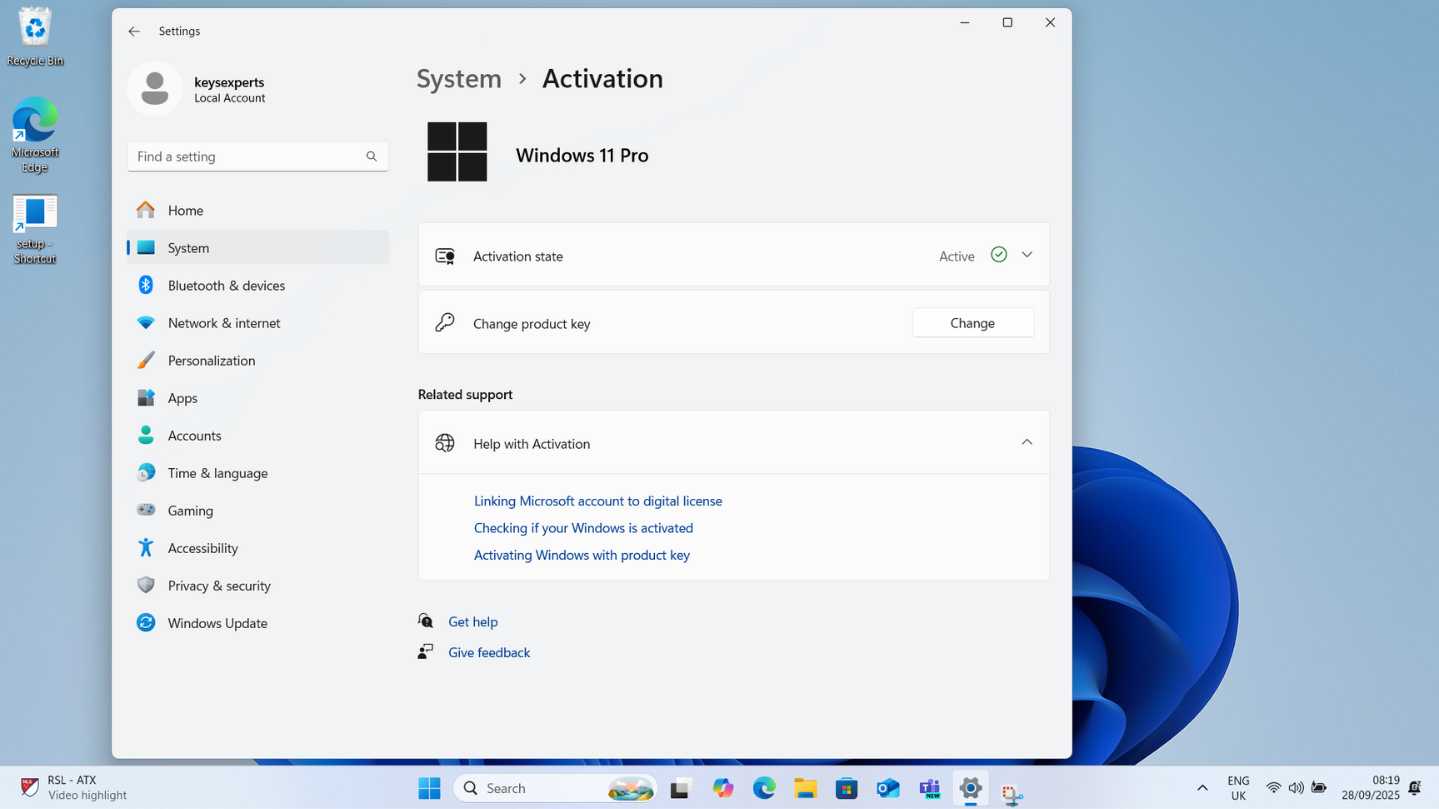
Windows 10 Pro activation before upgrade
Step 1: Backup Your Data & Confirm Activation
Before your system upgrade to Windows 11:
Backup with Windows Backup or tools like Macrium Reflect.
Save files to an external drive or cloud.
Confirm Windows 10 Pro is activated (if it’s activated, Windows 11 Pro will activate automatically).
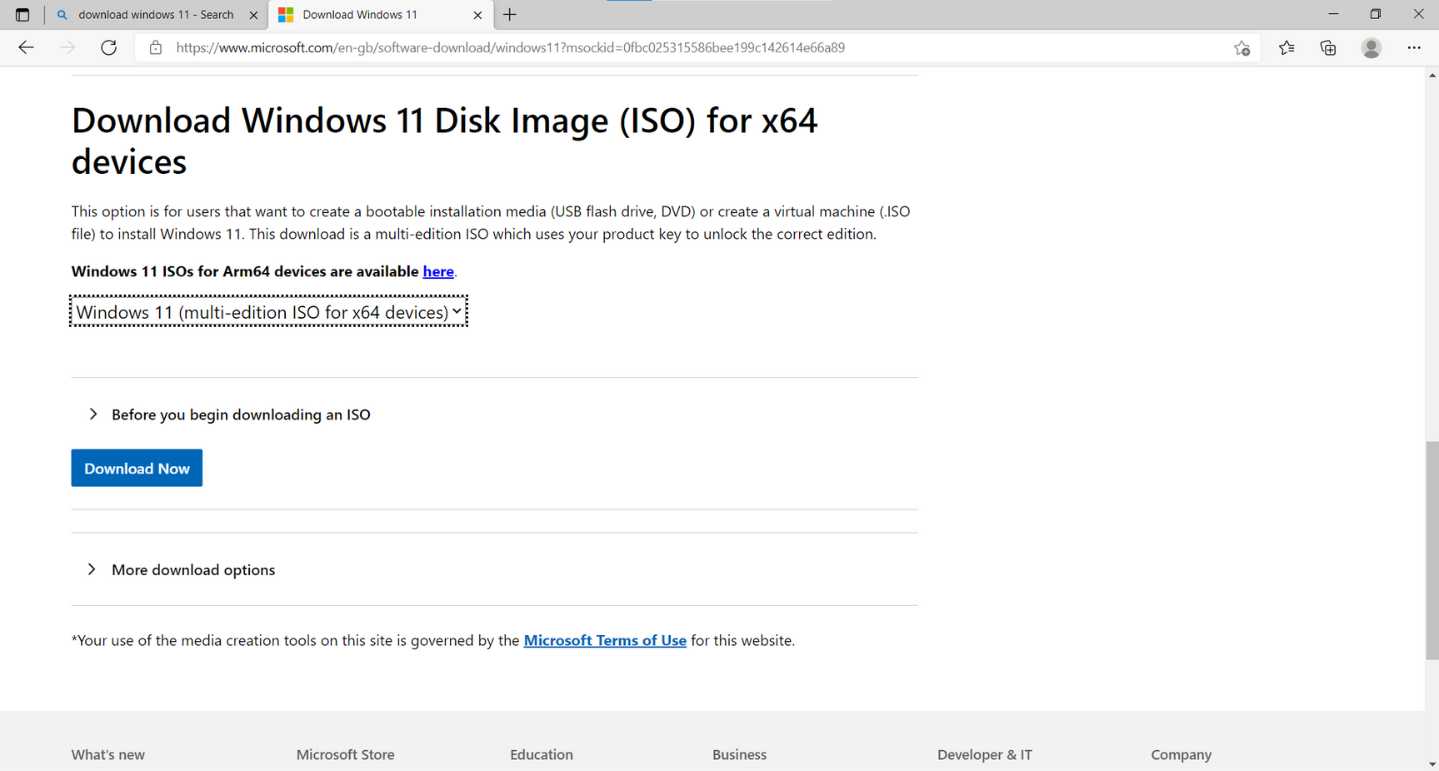
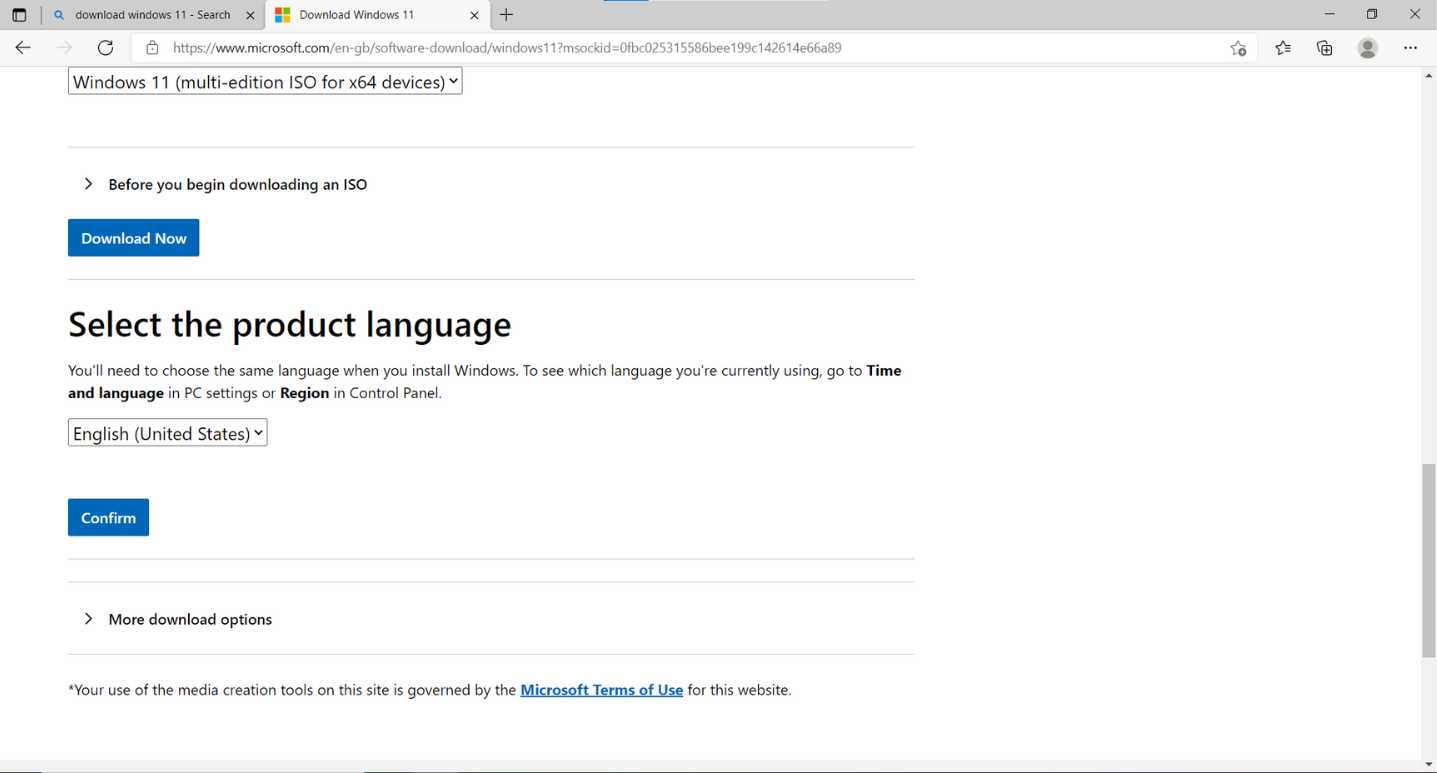
Select your language (must match Windows 10’s language).
Select the product language and confirm
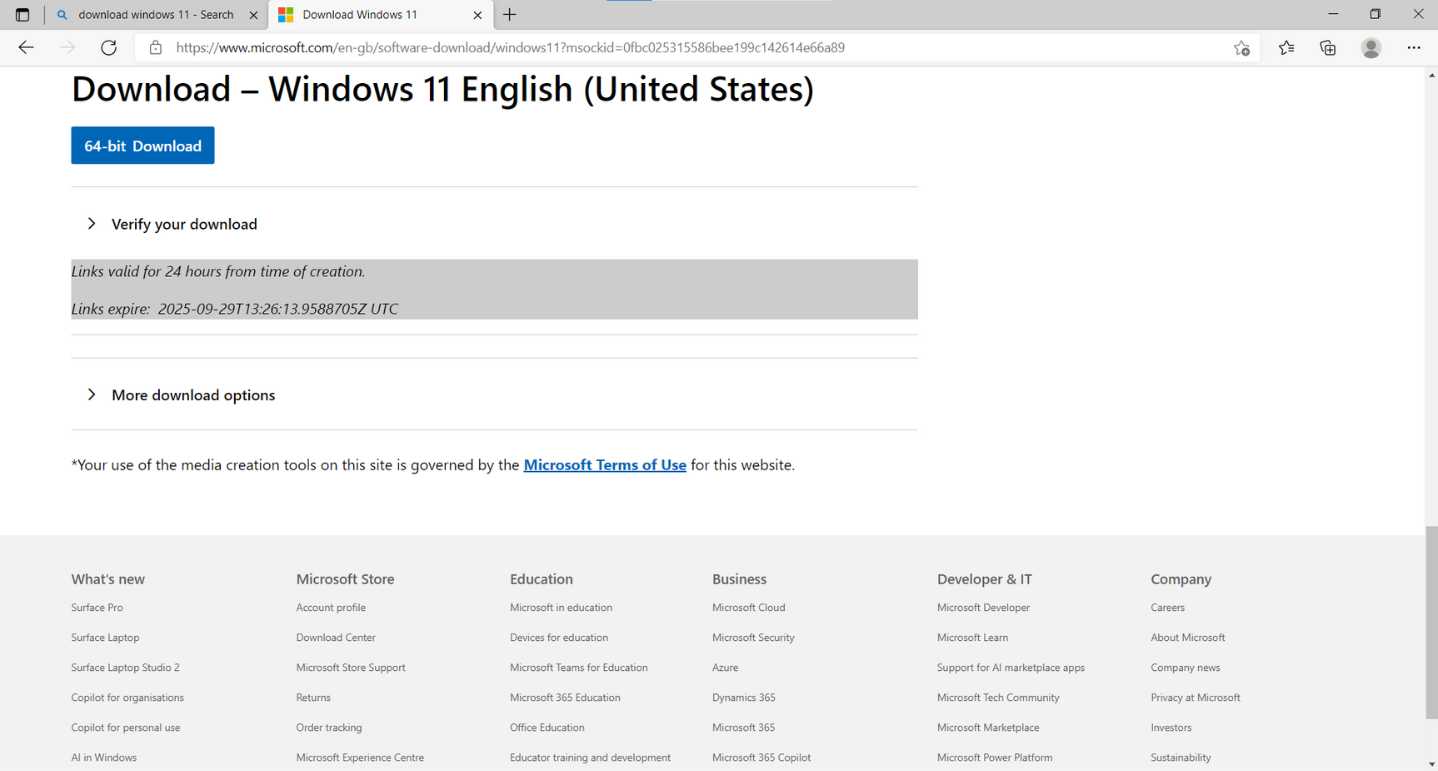
Click Download Now.
Windows 11 ISO download link
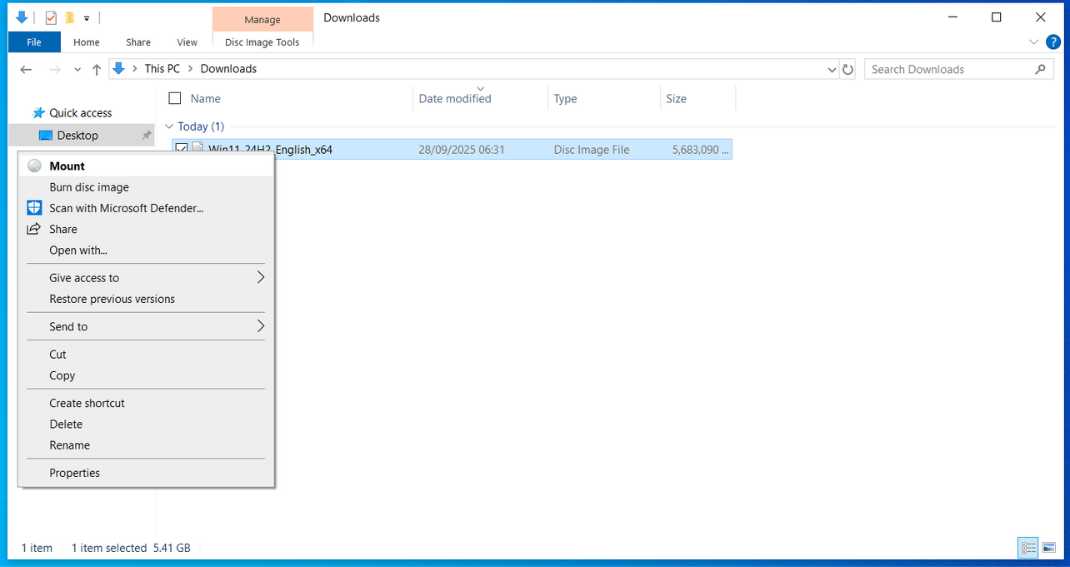
Step 4: Mount ISO & Create Setup Shortcut
Locate the ISO in Downloads → Right-click → Mount.
Windows 11 ISO file ready to mount
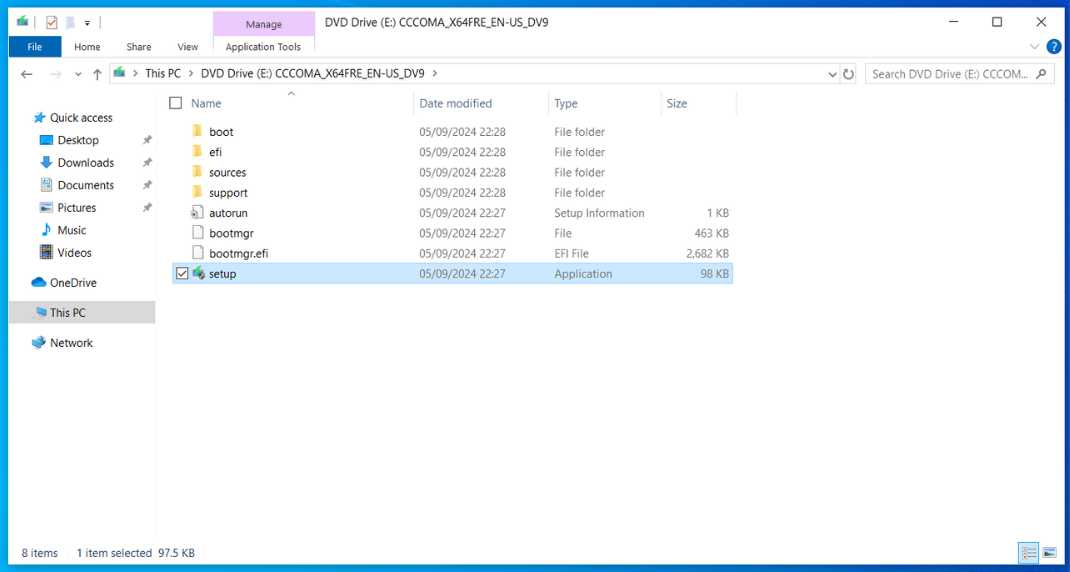
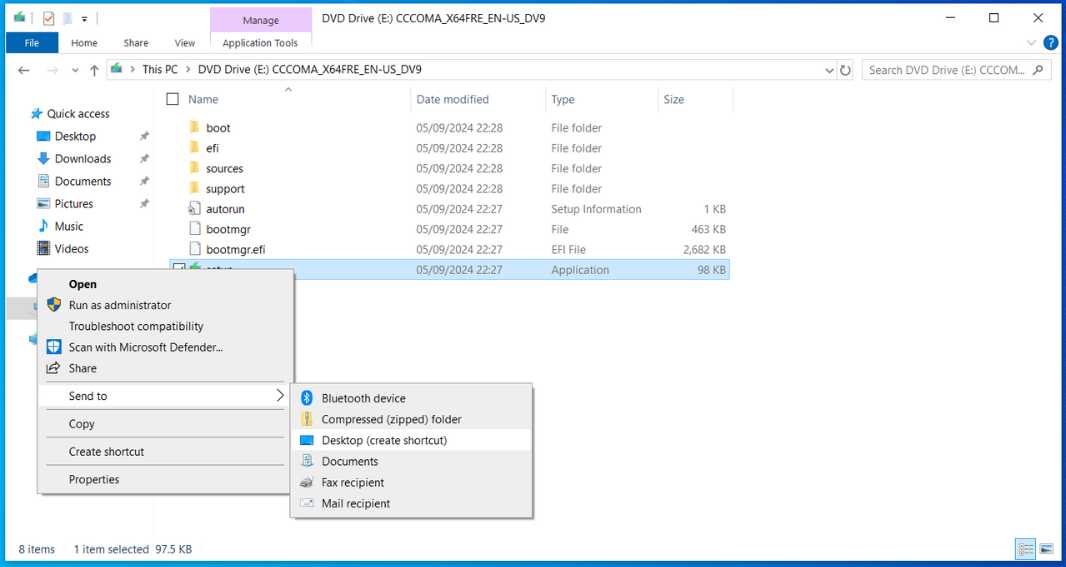
Open the mounted ISO (DVD Drive).
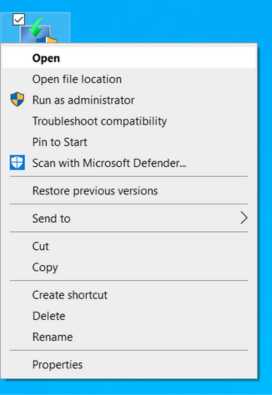
Right-click setup.exe → Send to → Desktop (create shortcut).
setup.exe inside the ISOCreate a desktop shortcut for setup
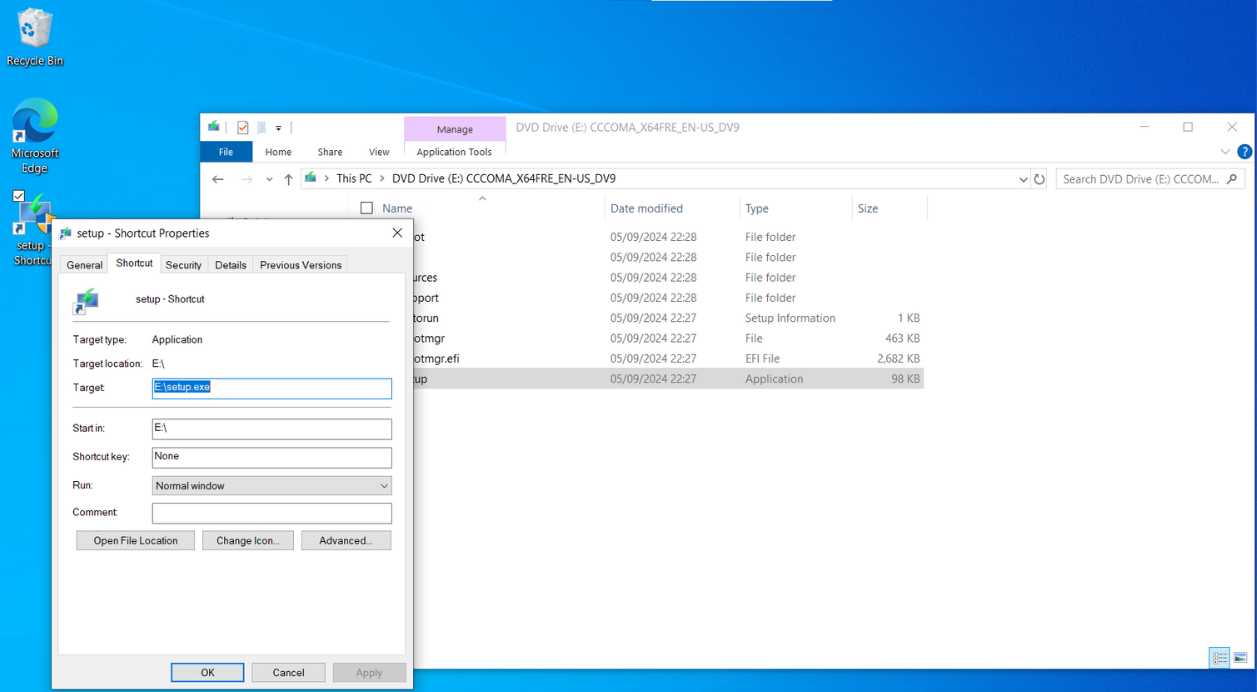
Step 5: Edit Shortcut to Bypass Requirements
Right-click the desktop shortcut → Properties.
Original Target: "E:\setup.exe"
Change to: "E:\setup.exe" /product server
Shortcut propertiesFinal Target value with /product server
This is the upgrade to Windows 11 manually trick. The “Server” branding just bypasses checks — you’re still installing Windows 11 Pro.
Step 6: Run the Installer
Right-click the shortcut → Run as Administrator.
Run the modified shortcut as admin
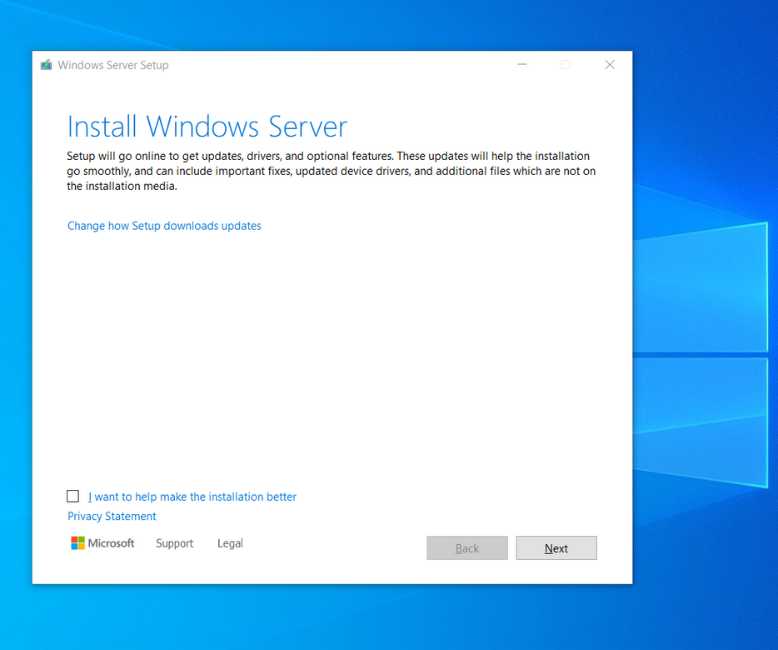
Why you see “Windows Server Setup” here
Launching the installer with /product server is a safe bypass that tells the Windows setup program to use a different product mode which skips Windows 11’s client hardware checks (TPM 2.0, Secure Boot, older CPUs).
You are not installing Windows Server. The ISO still contains Windows 11 Pro and that’s what gets installed; only the setup shell shows the Server branding during this phase.Note: On unsupported hardware, some features and future feature updates may be limited.
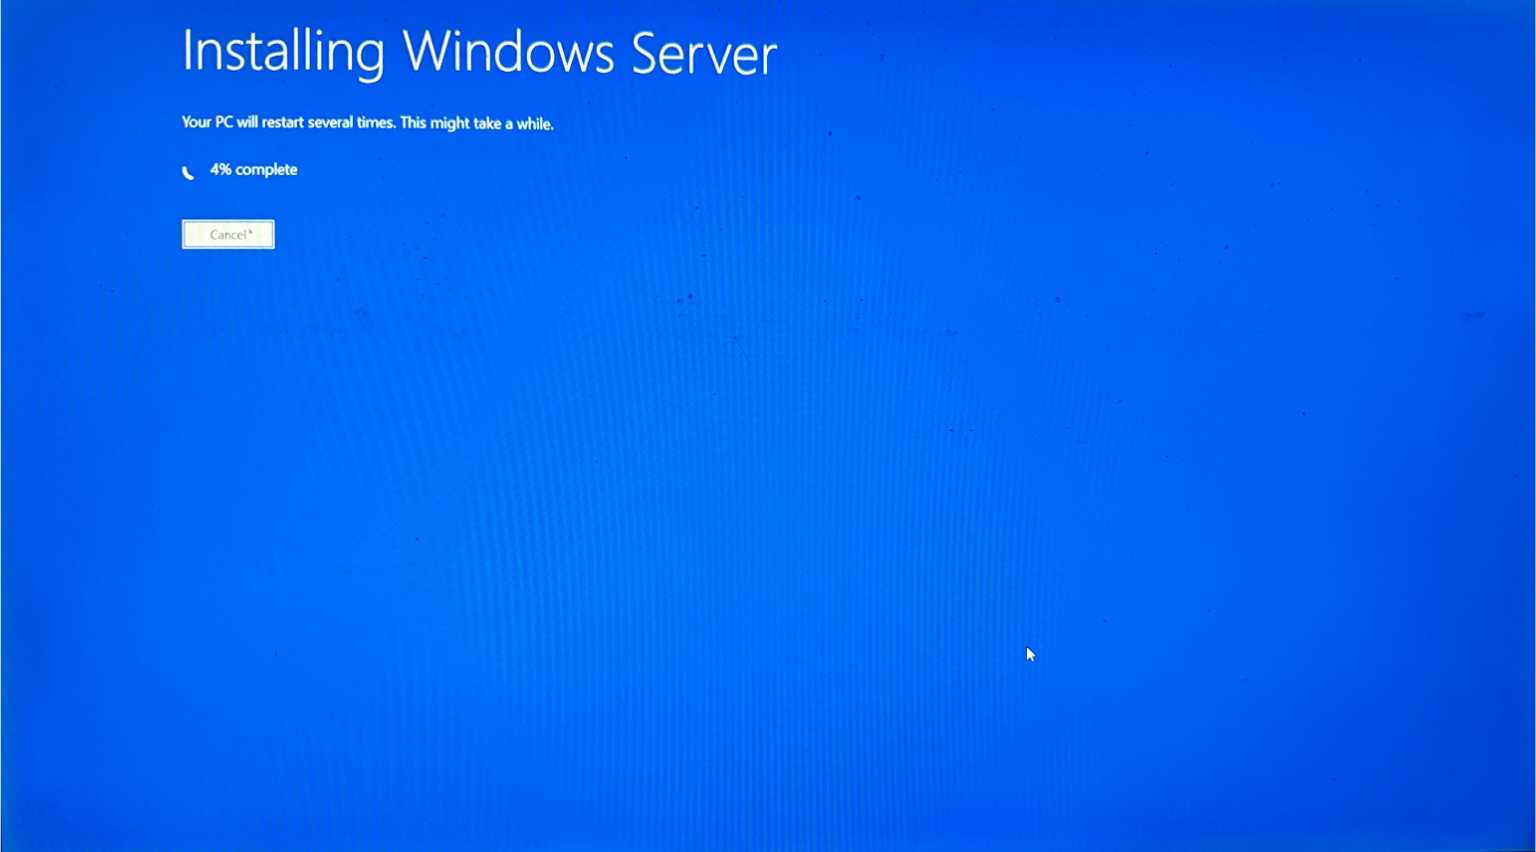
The wizard will show “Windows Server Setup.” Don’t worry still installs Windows 11 Pro.
“Install Windows Server” screen (expected while bypassing checks; still installs Windows 11 Pro).
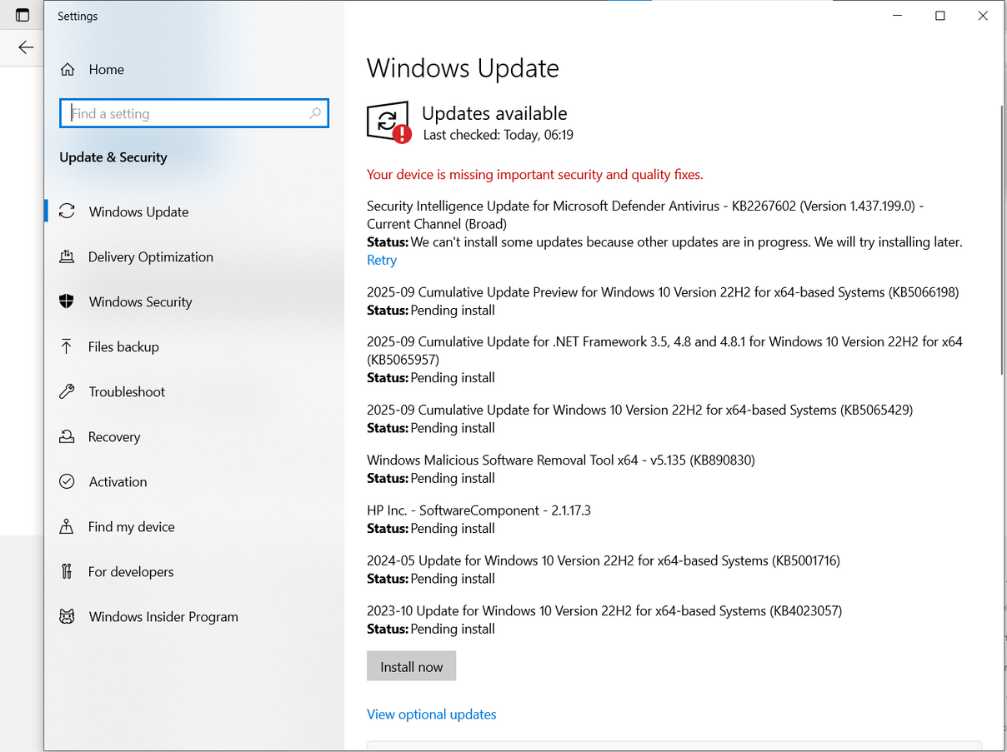
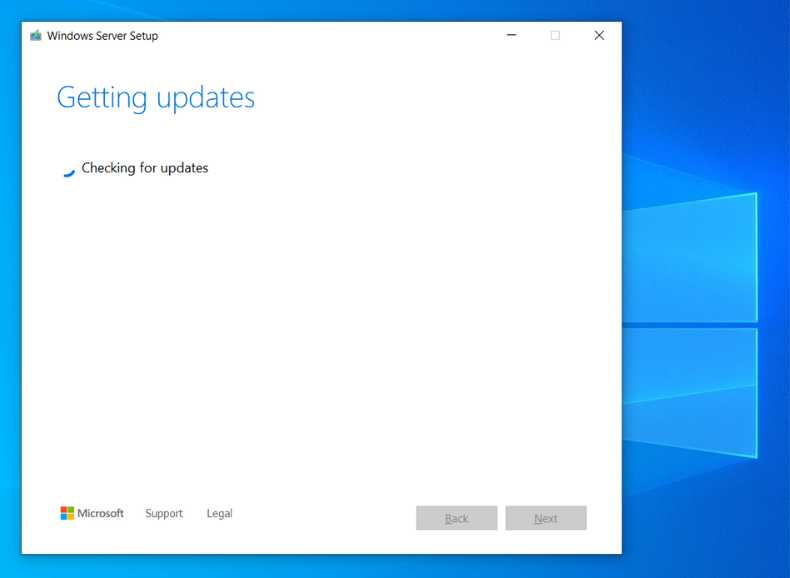
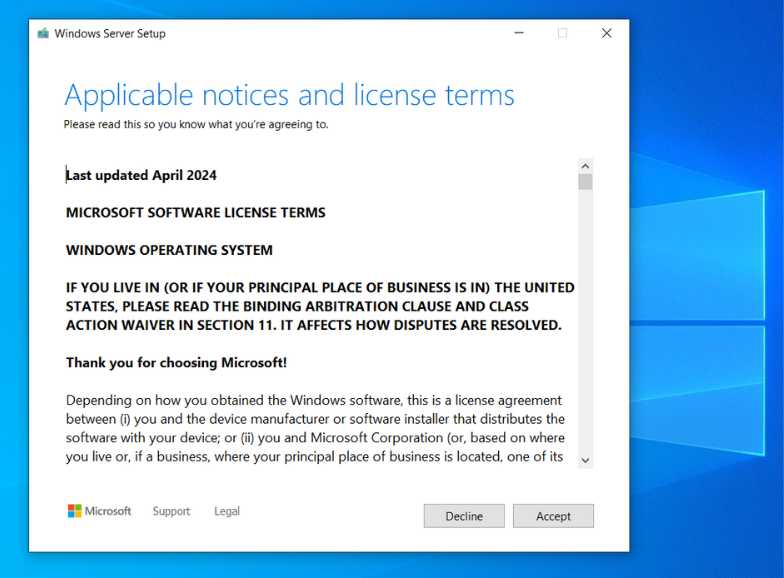
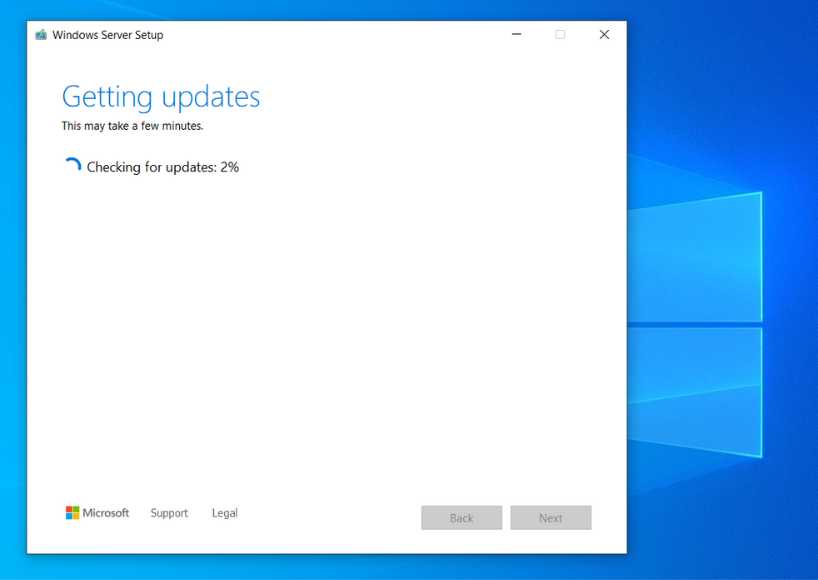
It will check for updates → accept license → choose what to keep.
Checking for updatesAccept license terms
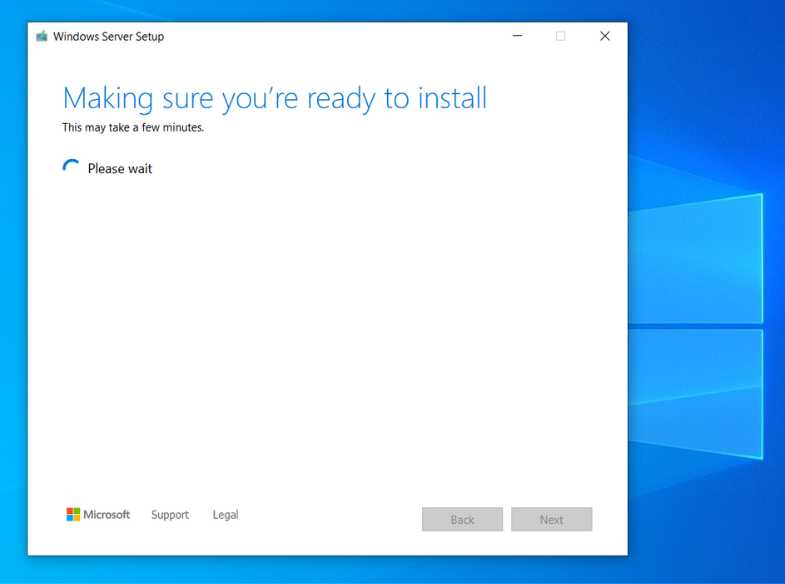
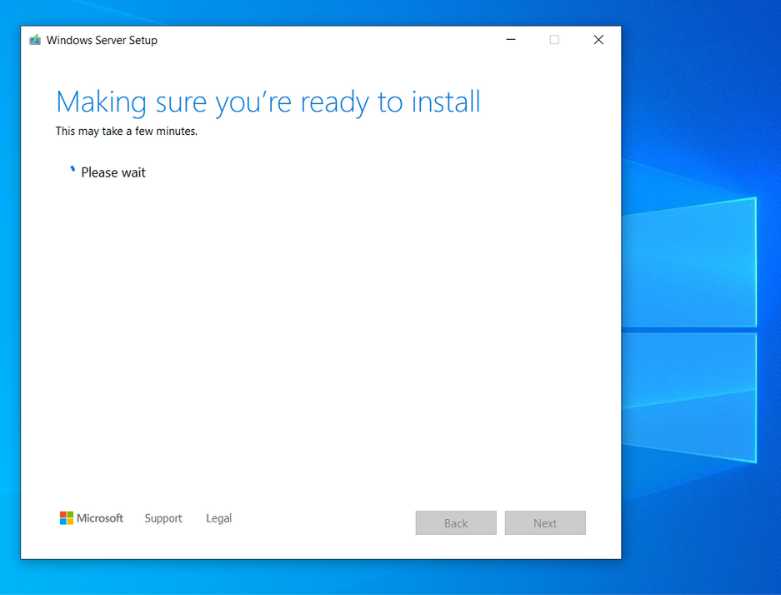
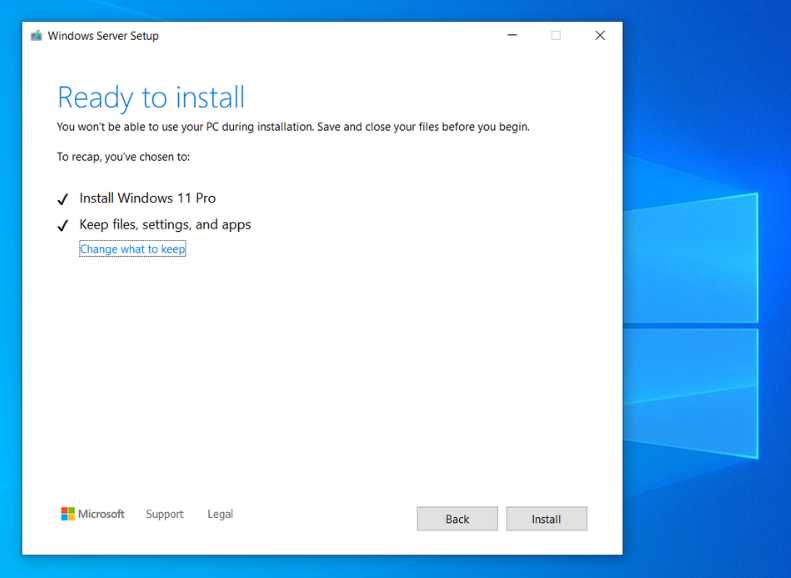
Readiness checks → Ready to install
Readiness checkGetting updatesFinal readiness checkReady to install Windows 11 Pro
Installing screen (server) to bypass the Windows 11 Professional Requirements
Installation in progress
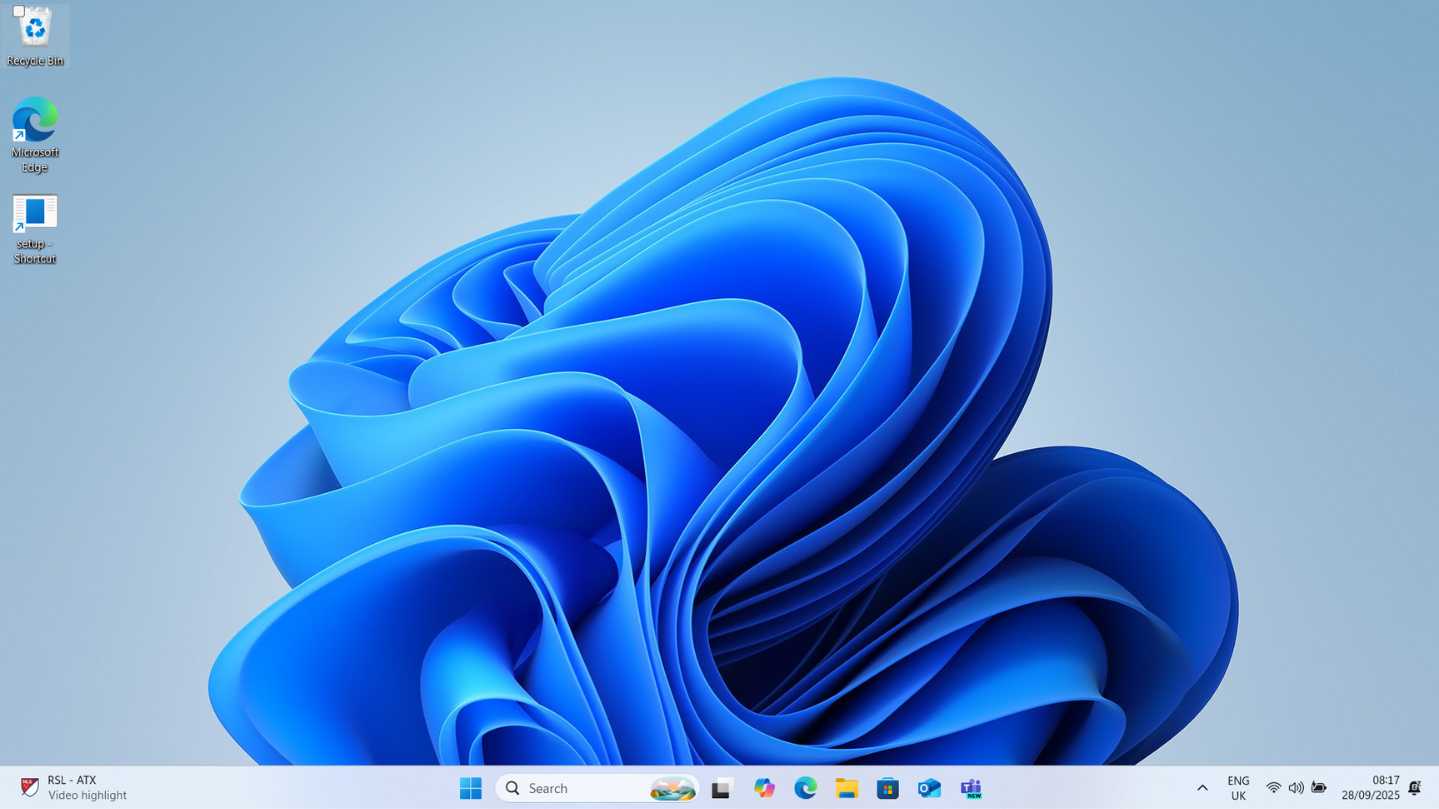
Step 7: First Boot into Windows 11 Pro
After restarts, you’ll see the new Windows 11 Pro desktop.
Unsupported PCs may not receive all feature updates.
Bypassing TPM/Secure Boot lowers security.
Features like BitLocker/Windows Hello may not work.
FAQs: Upgrading Windows 10 Pro to Windows 11 Pro
Q1. Can I upgrade to Windows 11 for free from Windows 10 Pro?
Yes. If Windows 10 Pro is activated, you can upgrade to Windows 11 for free. The activation state usually carries over automatically after upgrade.
Q2. How to update to Win 11 step by step?
Follow these steps: backup your data, update Windows 10 fully, download the Windows 11 ISO, edit the setup shortcut, run the installer, and reboot.
Q3. What is aka.ms upgrade to Windows 11?
The aka.ms upgrade to Windows 11 link is a Microsoft shortcut that redirects to the official Windows 11 download page. Always use this official source for safety.
Q4. What happens if my PC doesn’t meet the requirements?
The installer will normally block the upgrade. However, using the /product server method bypasses these checks and allows the installation to continue.
Q5. Is it safe to bypass TPM and Secure Boot?
Yes, the upgrade will still work, but security features like BitLocker and Windows Hello may not function as intended. Always keep backups and use strong antivirus protection.
Q6. Will Windows 11 run smoothly on older laptops?
Yes, as long as your device has at least 8 GB of RAM and an SSD. Performance on HDD-only systems may be slower.
Q7. Do I need a new license key for Windows 11 Pro?
No. Your existing Windows 10 Pro key will activate Windows 11 Pro automatically in most cases.
Q8. Can I downgrade back to Windows 10?
Yes. Within 10 days, you can roll back to Windows 10 using system recovery. After 10 days, you’ll need to reinstall Windows 10 cleanly.
Q9. What are the minimum hardware requirements for Windows 11?
1 GHz CPU with at least 2 cores
4 GB of RAM
64 GB of storage
DirectX 12 compatible GPU
TPM 2.0 & Secure Boot (can be bypassed with this guide)
Signup our newsletter to get update information, news, insight or promotions.